Google Analytics UA
Locate your Universal Analytics ID and add it to MESA so workflows can send tracking events to your legacy Google Analytics property.
Authenticate
Section titled “Authenticate”When you’re setting up your first workflow with Google Analytics Universal Analytics (UA), you’ll need to add your Google Analytics ID so that Google Analytics is a connected app within MESA.
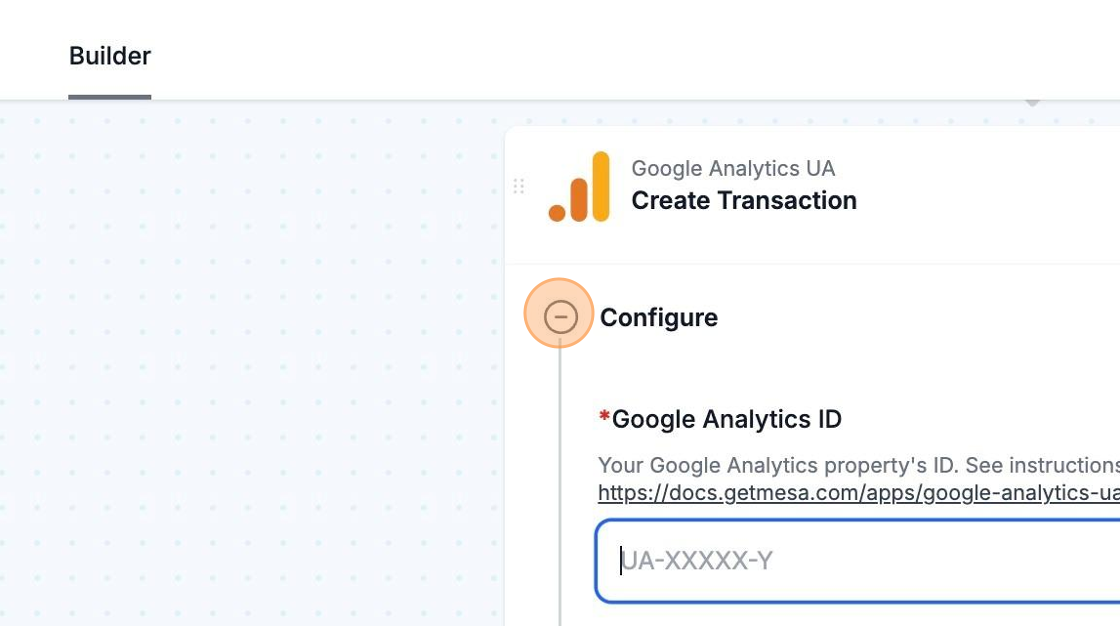
Your Google Analytics ID can be found by following this document but you can also read the following instructions:
1. Sign in to your Google Analytics Account.
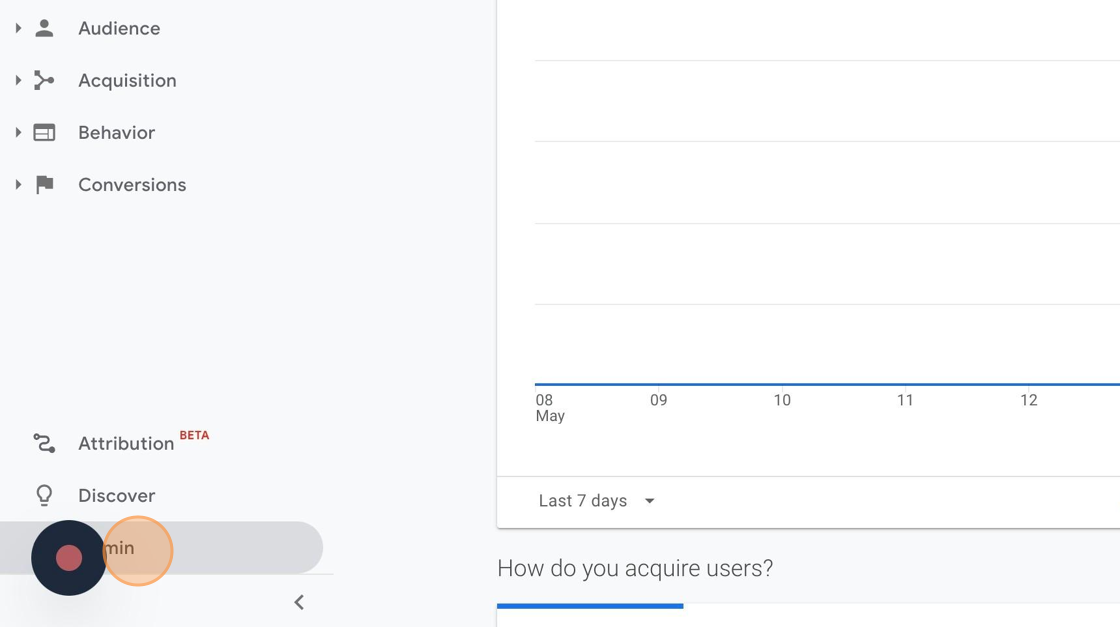
2. Click on Admin from the left-hand sidebar.
3. Ensure that you have the correct account selected under Account.
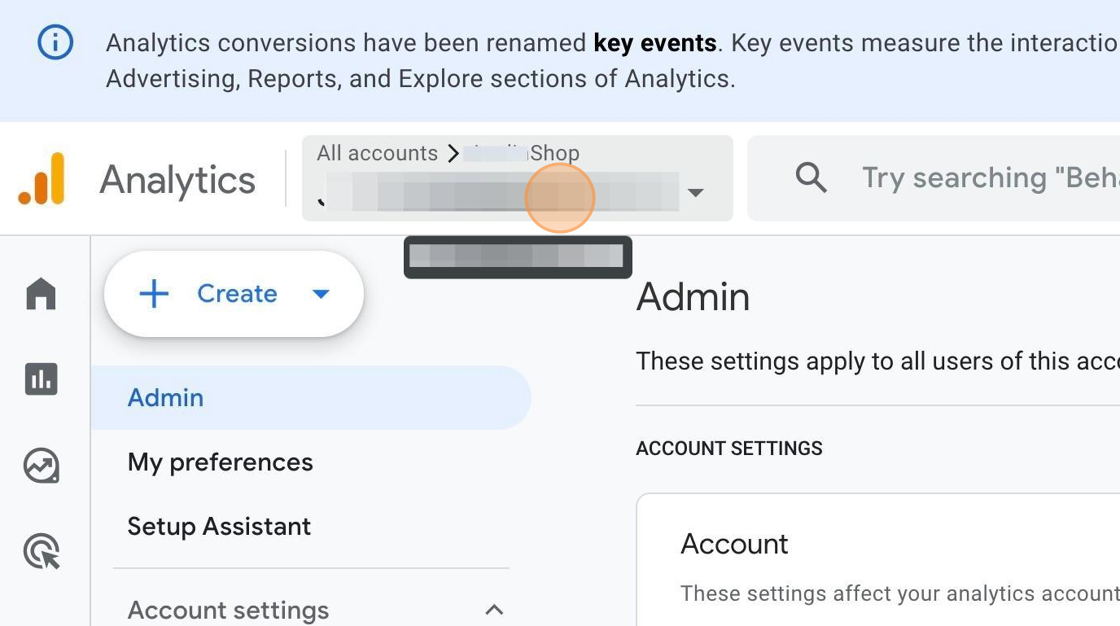
4. Ensure that you have the correct Property selected under Property.
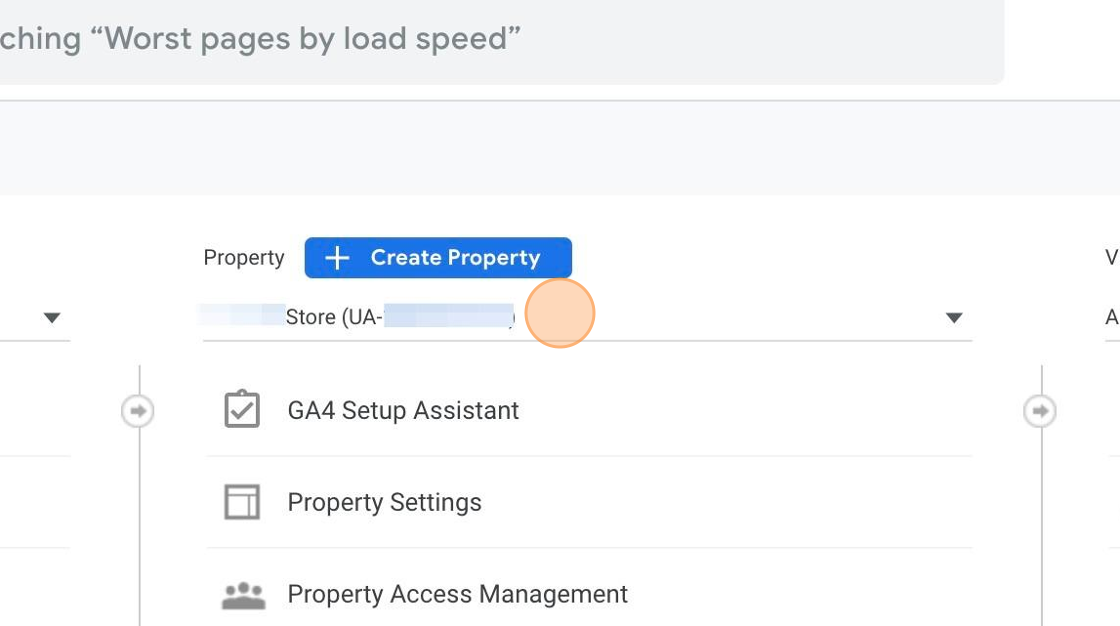
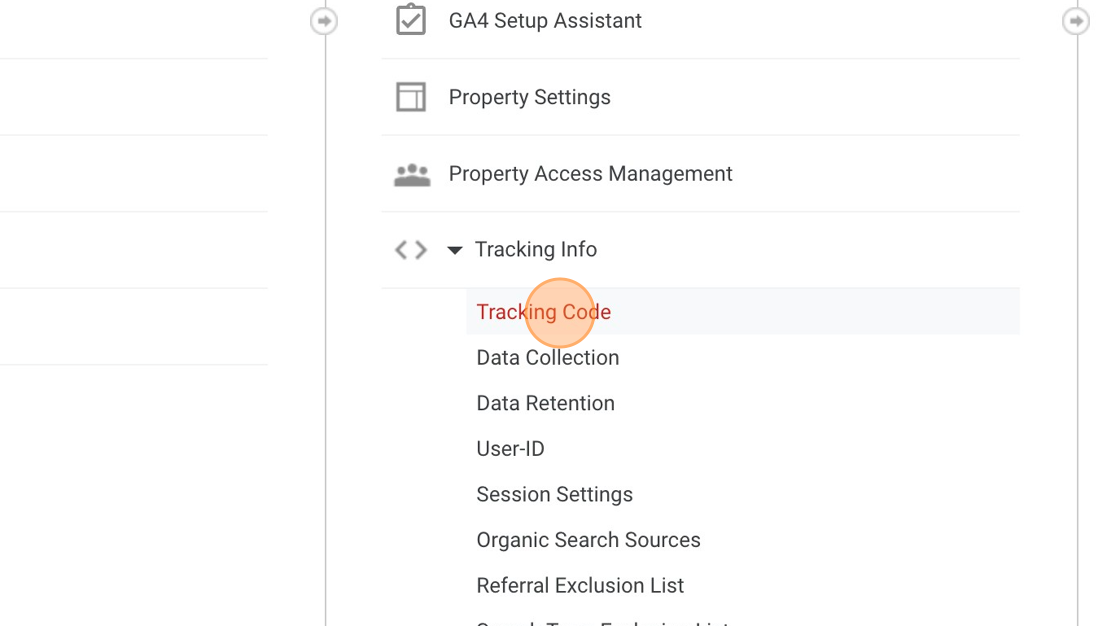
5. Under Property, select Tracking Info and then Tracking Code.
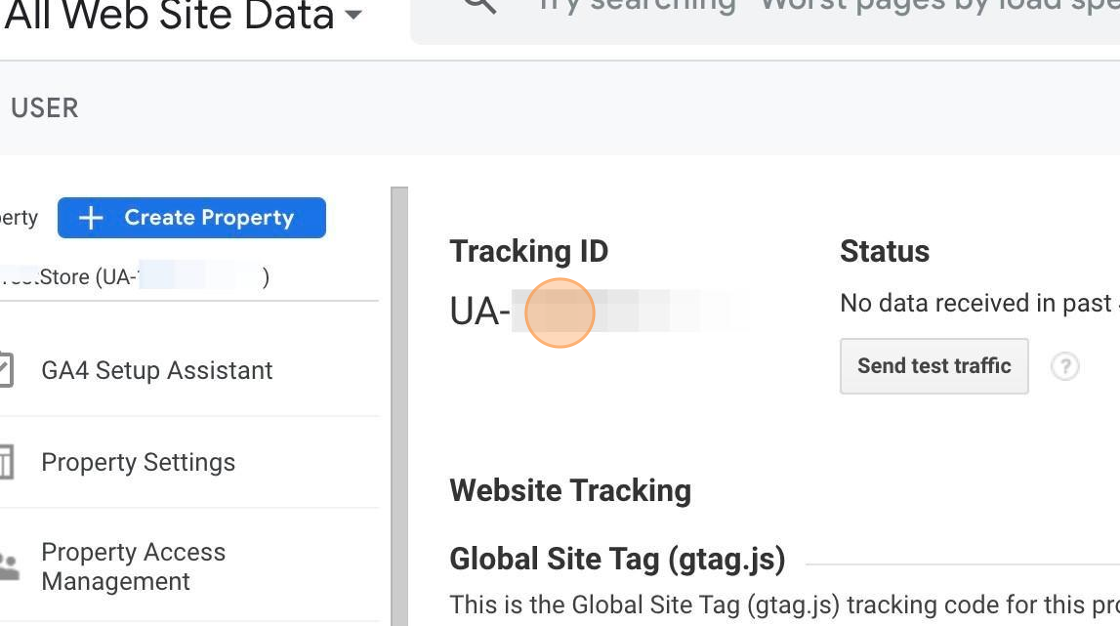
6. You will find your Google Analytics ID under Tracking ID. It should start with UA (e.g. UA-000000-2).
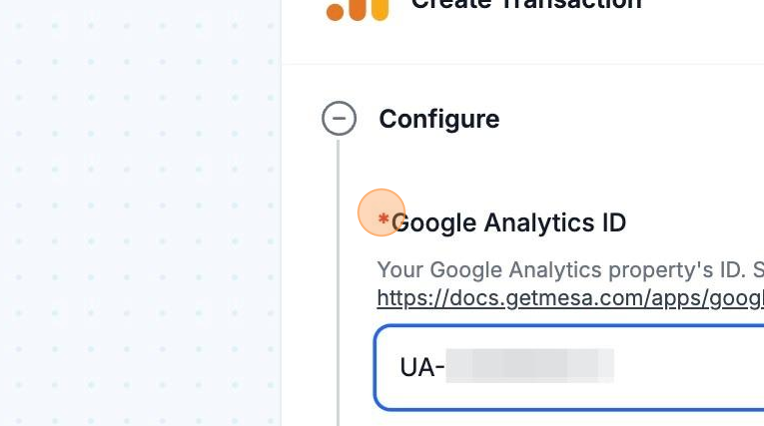
7. Copy and paste the Tracking ID into the Google Analytics ID field in your MESA workflow. Click Save and you are all set!
Locate your transactions sent from MESA in Google Analytics
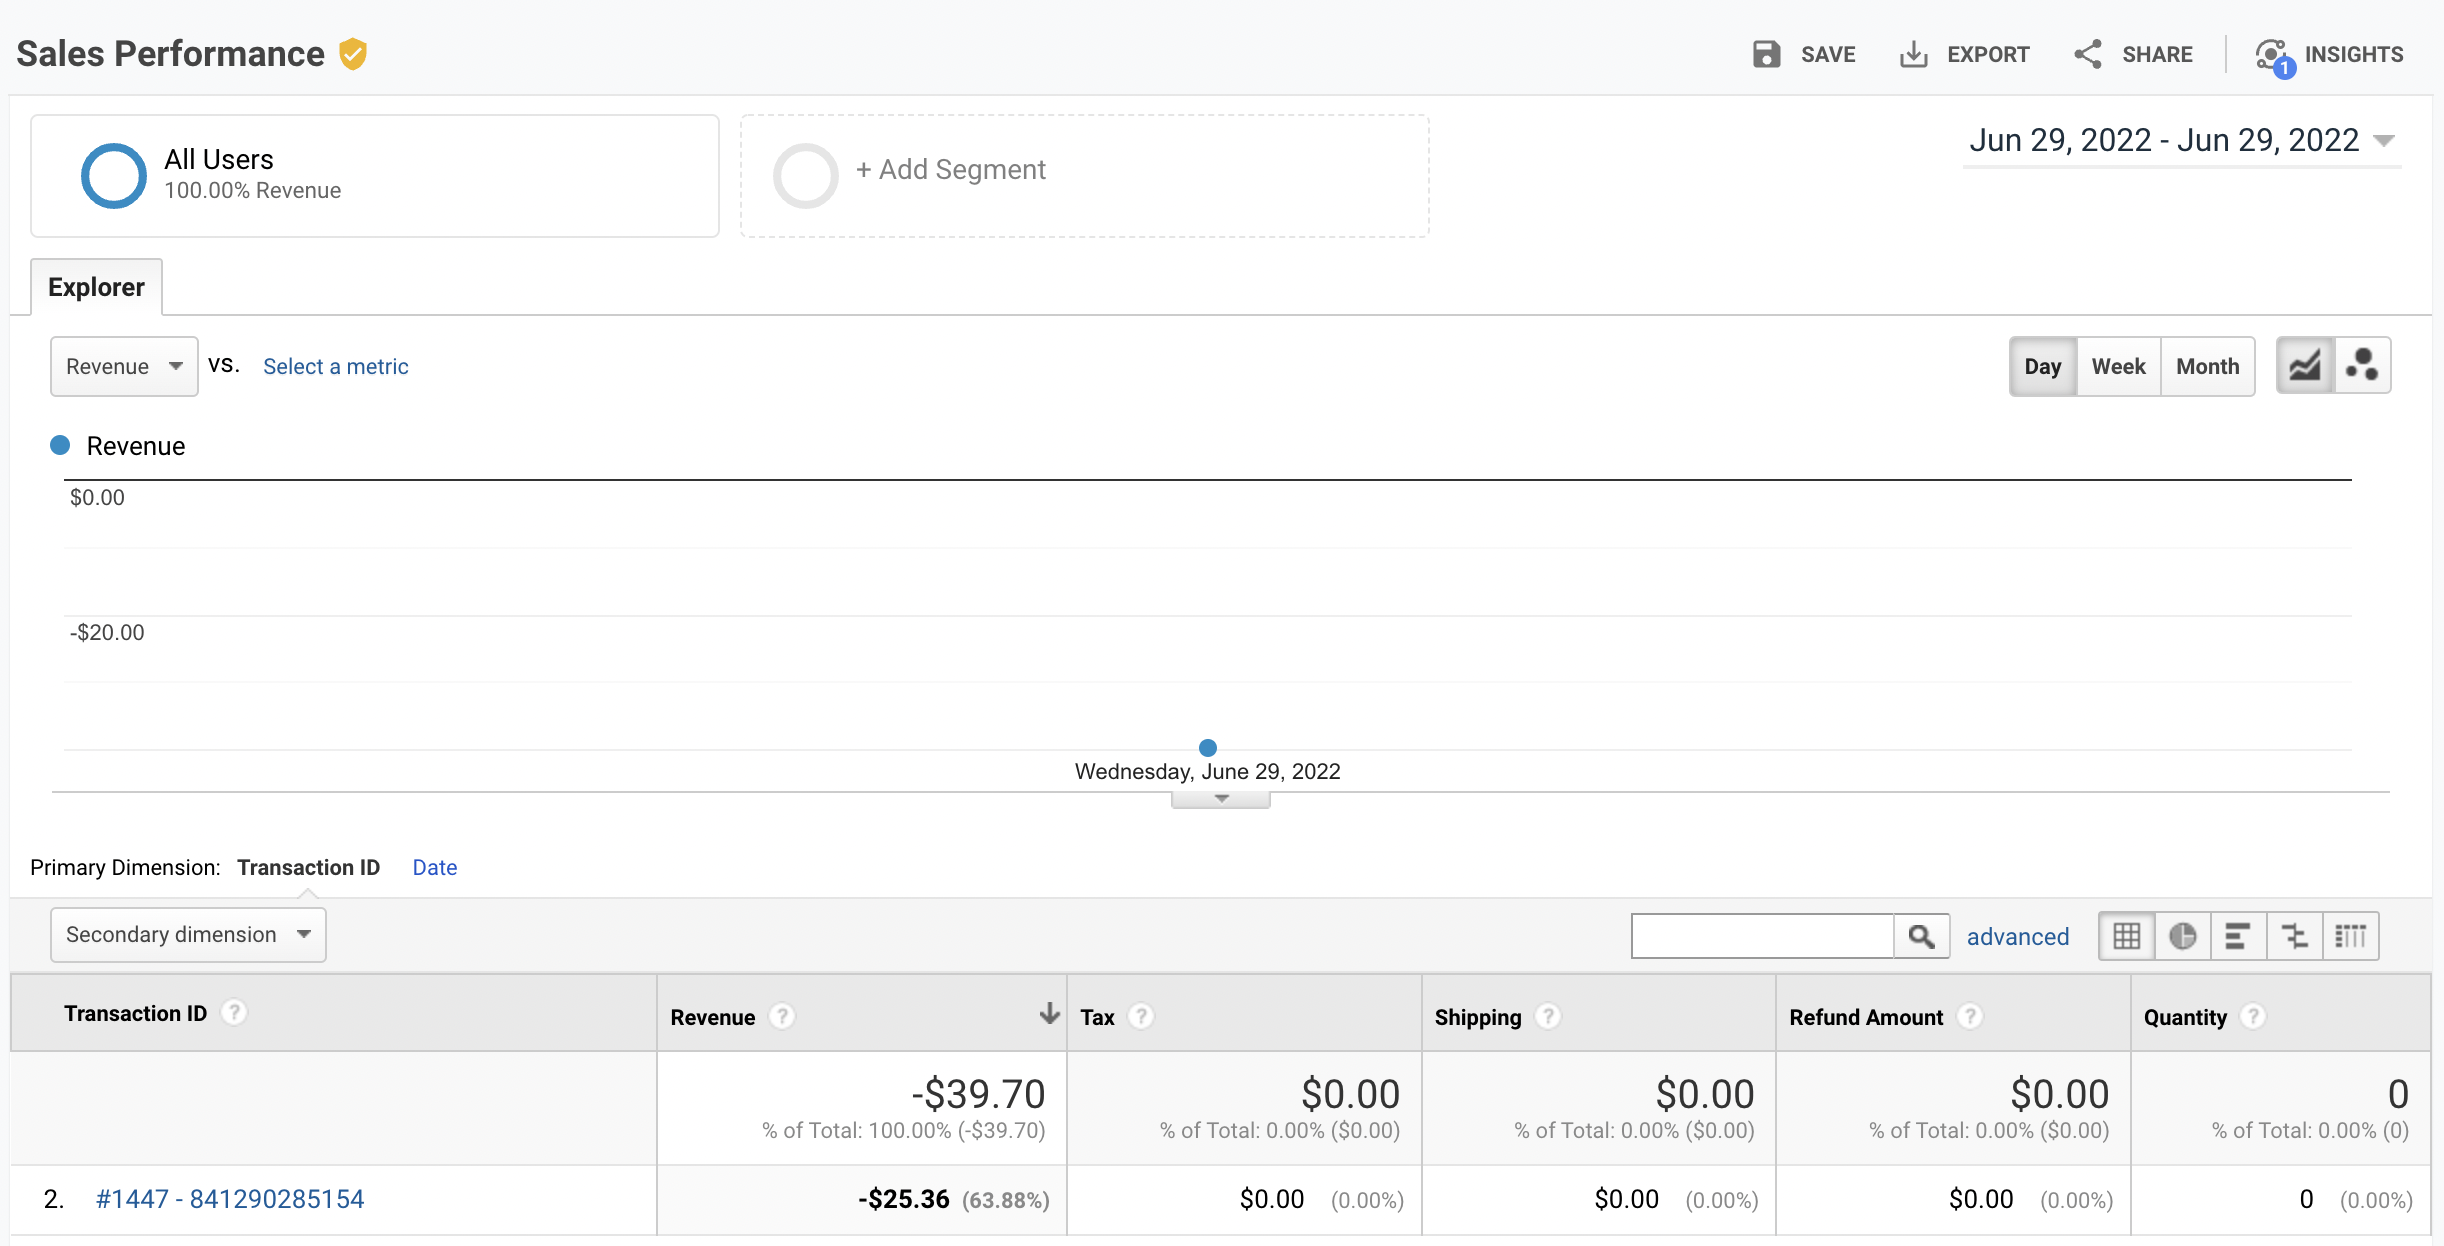
Section titled “Locate your transactions sent from MESA in Google Analytics”1. In your Google Analytics account, click on Conversions, then Ecommerce, and then Sales Performance in the left sidebar.
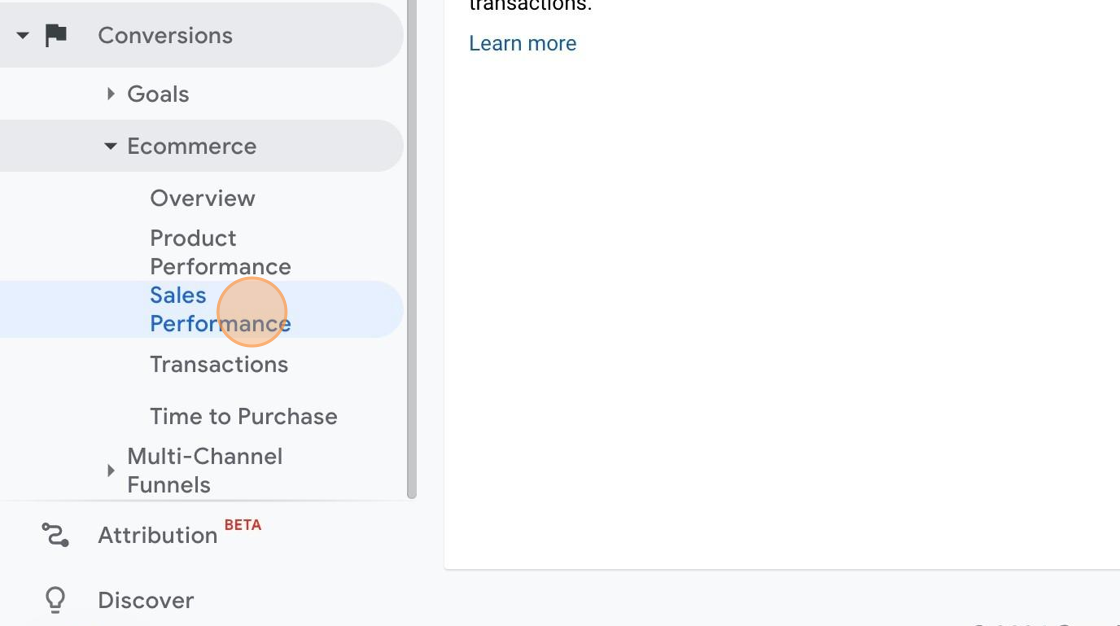
2. You will be taken to the Sales Performance report page where you can view different transactions (i.e. #1447 - 841290285154).