
FTP
Download and upload files on an FTP server with the MESA FTP tool, mapping CSV and other file data to the format Shopify or another system expects.
The FTP (File Transfer Protocol) tool allows you to download and upload files to a specified FTP server. With MESA, you can map the data to a format that Shopify or another system expects and pass it along to the next step. Sharing CSV and other files via FTP servers is a great choice to connect your fulfillment service, product manager, or another third-party system to Shopify. MESA supports both FTP and SFTP (secure FTP) protocols.
Connection
Section titled “Connection”Your hosting service should have details for all fields required to connect your FTP with MESA.
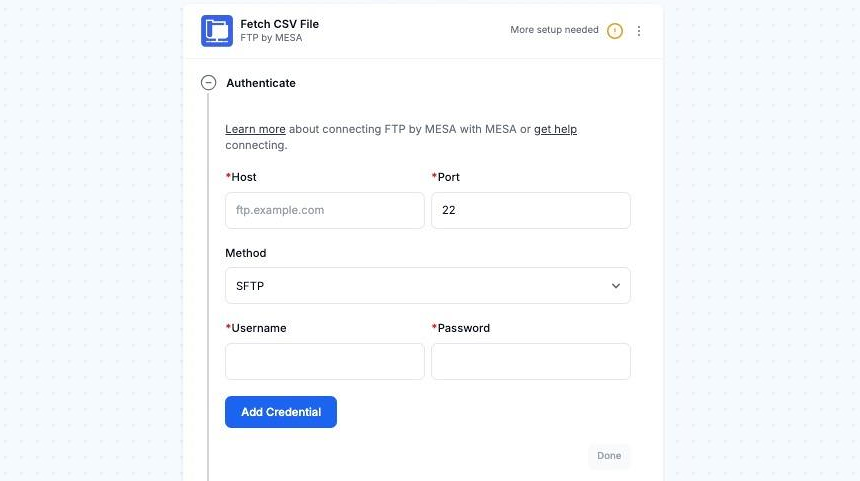
Once all the details have been filled in, click Add Connection to connect your FTP with MESA.
Configuration
Section titled “Configuration”
Fetch File triggers
Section titled “Fetch File triggers”You can begin a workflow by fetching a FTP, XML, or CSV file on a scheduled basis.
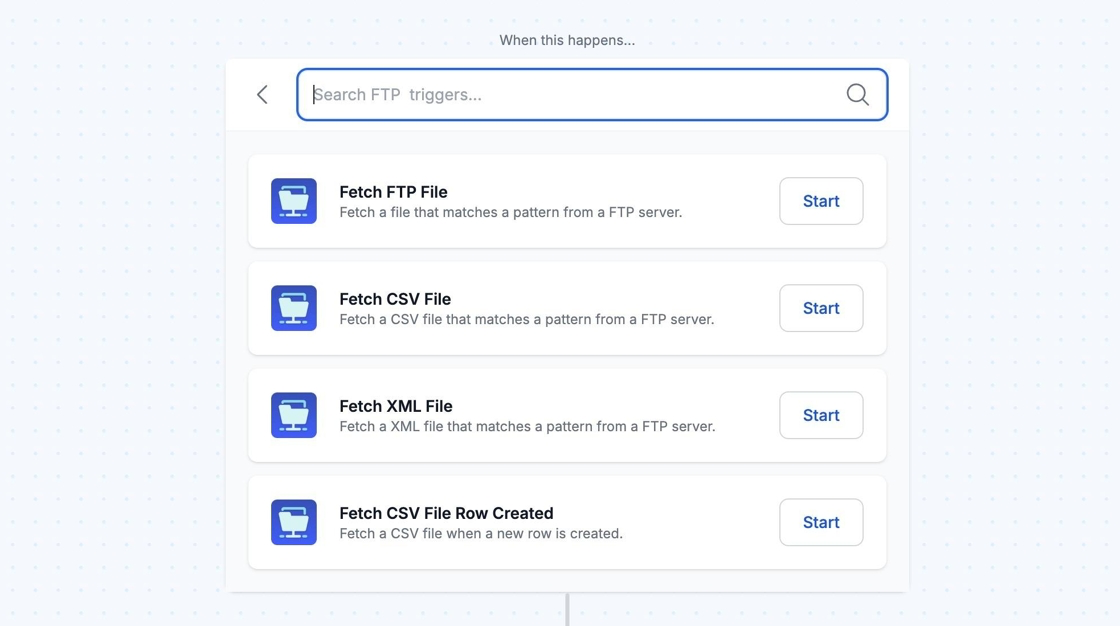
Once you have selected your preferred FTP trigger, there are fields available to complete:
File Name
Section titled “File Name”Enter the path to the file on your FTP server.
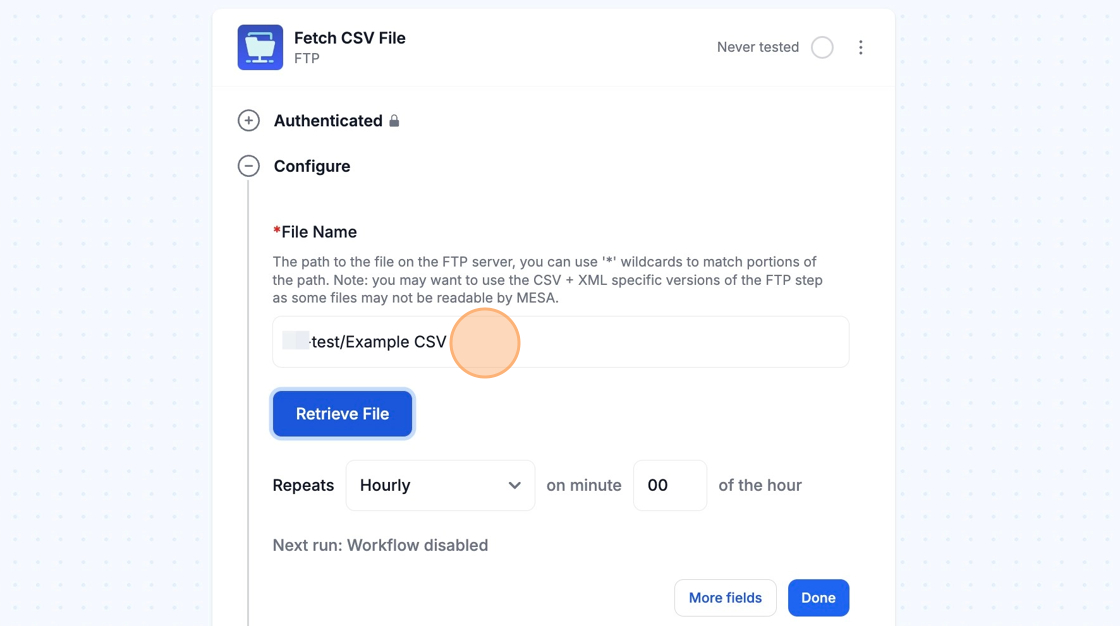
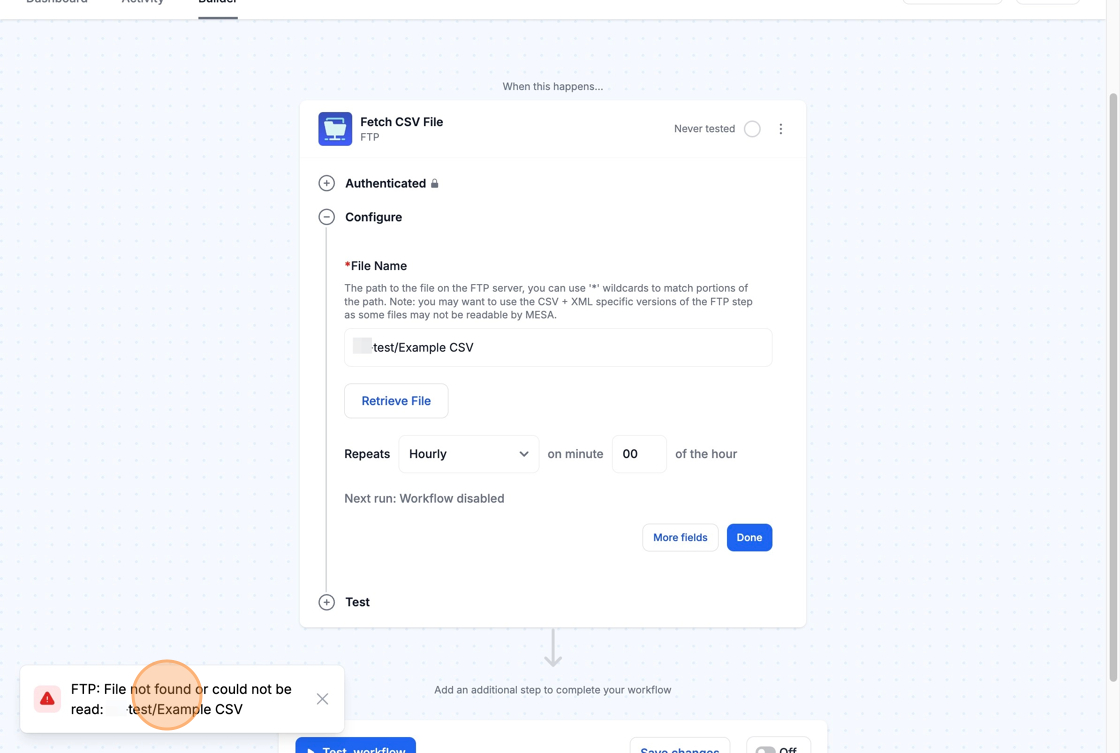
To check if you have correctly entered your path, you can click on the Retrieve File button to test.
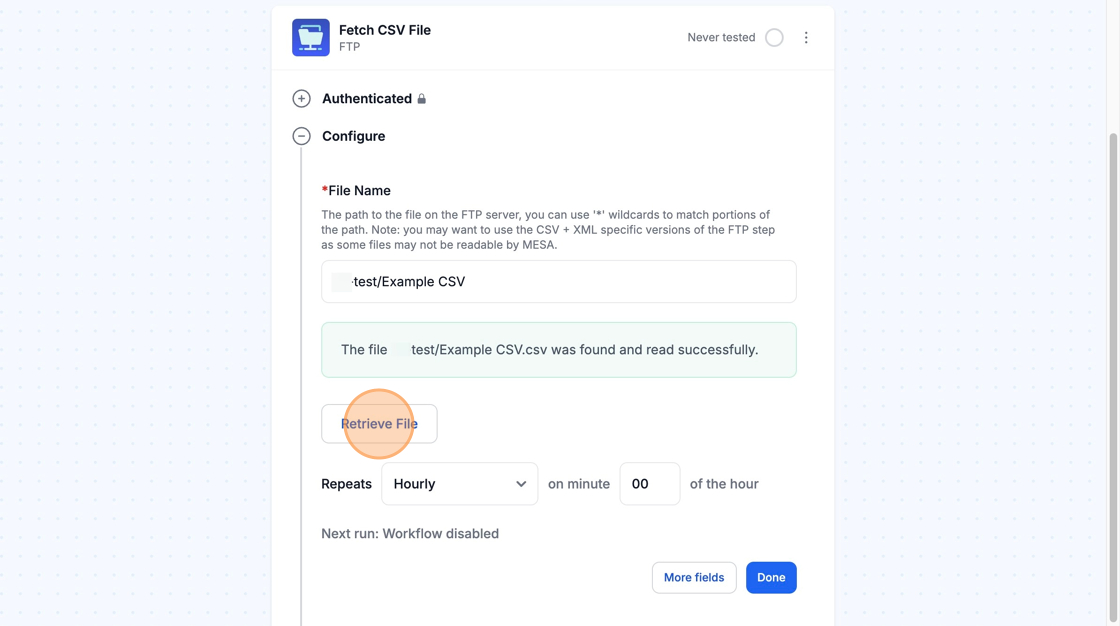
If MESA cannot locate your file, an error will display, stating that the file is not found or could not be read. To fix this, please adjust the text entered into the File Name field.
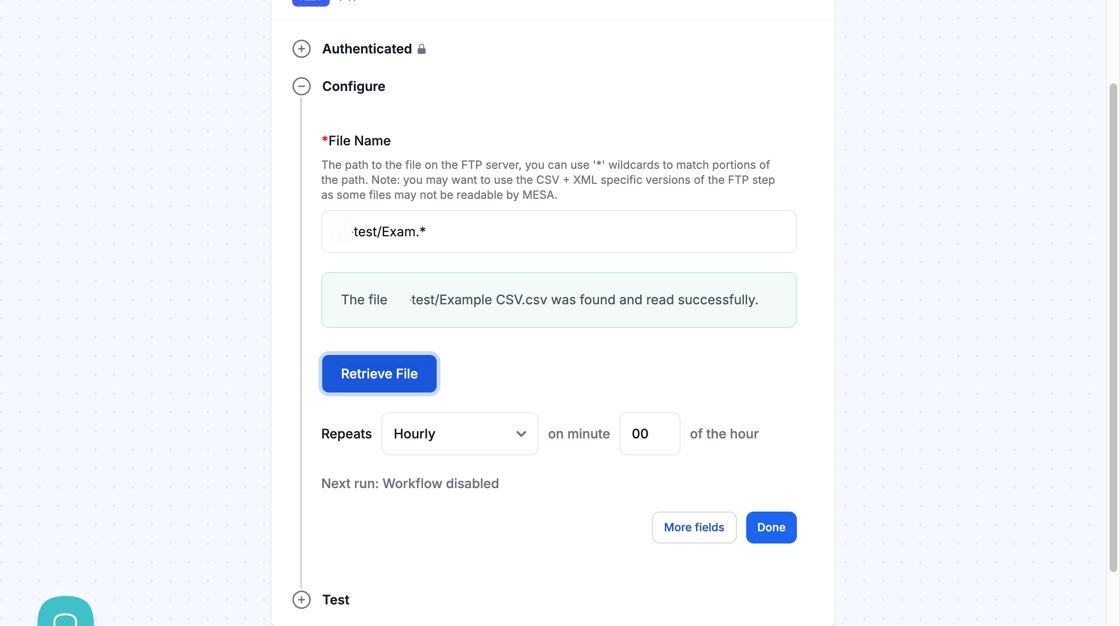
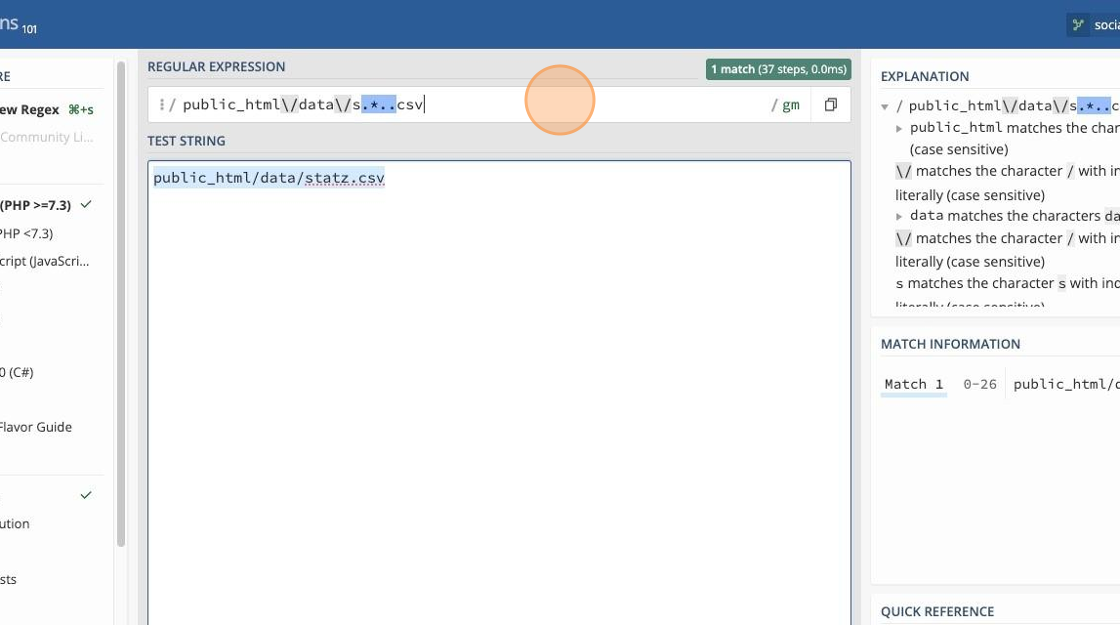
Optionally, you can use wildcards (*) to match portions of the path if the path is dynamic. If you are familiar with regular expressions, you can test the wildcard placement on a third-party website (e.g. regex101) to ensure that the pattern matches the file path.
Move File After Successful Read
Section titled “Move File After Successful Read”If selected, the file will be moved after MESA successfully reads it. This is useful if you have a dedicated directory/folder to store read files so your FTP server is organized. This can be found by selecting the More fields button.
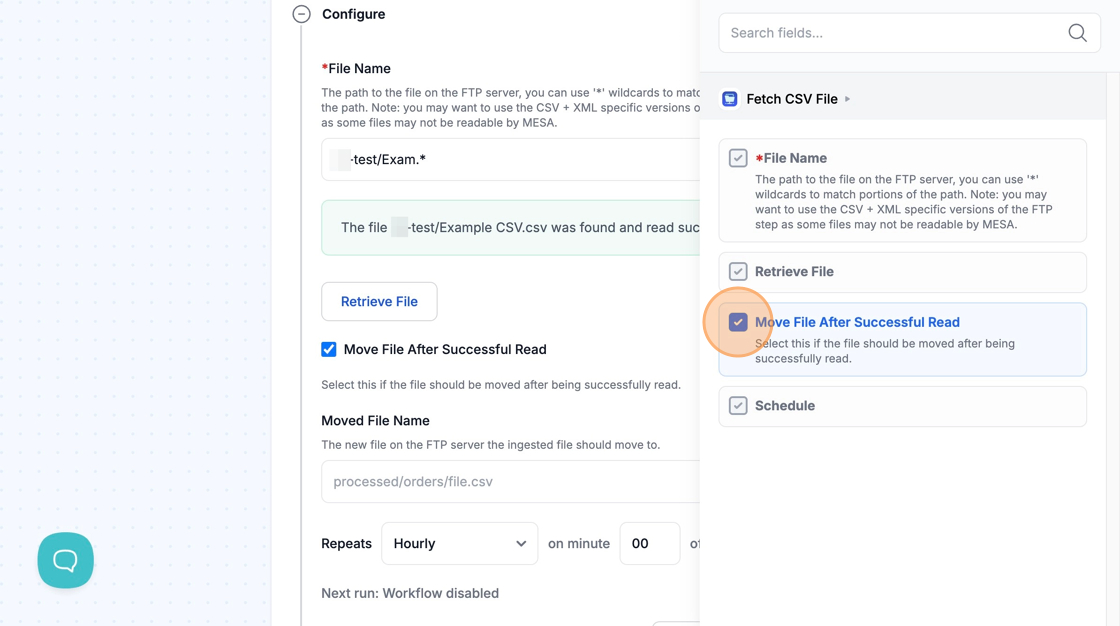
In the below screenshot, the “processed” folder stores all files that have been read.
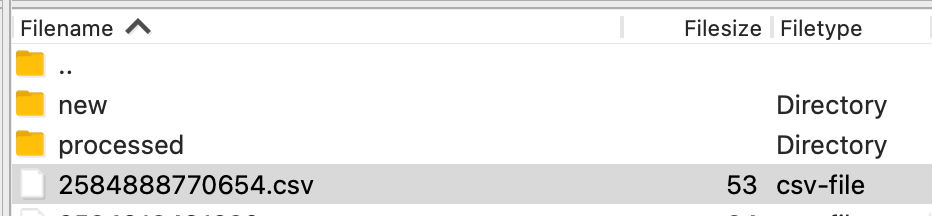
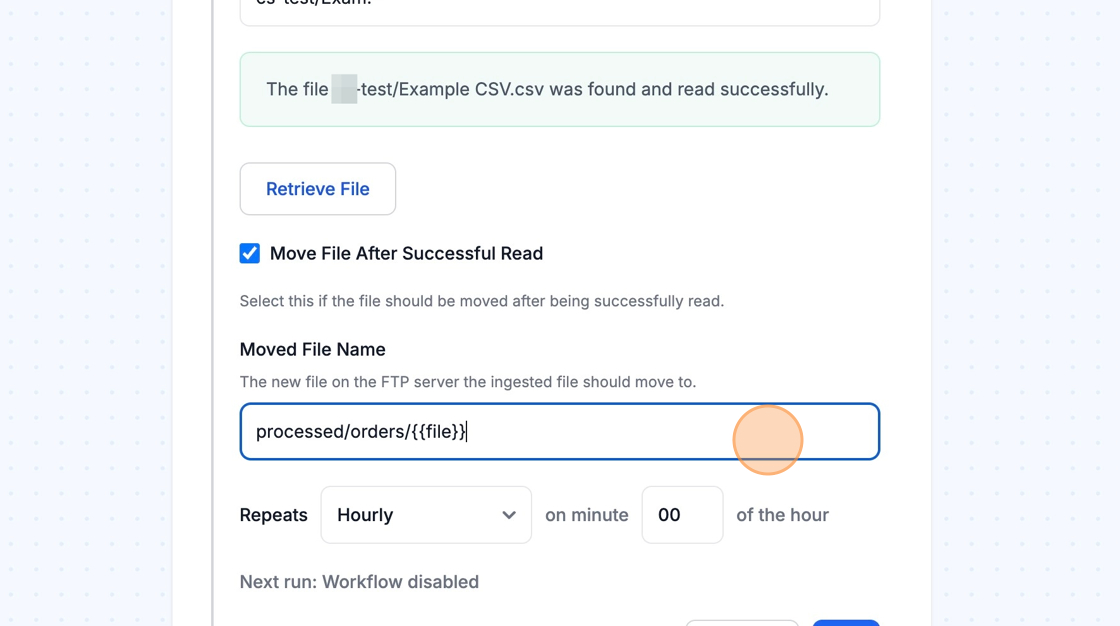
For the Moved File Name field, you can use the Variable {{file}} which is from the file name. For example, if the file name value is orders/Order*.csv, and the found file was orders/Order-1234.csv, {{file}} would resolve to Order-1234.csv.
For our example, we have inputted: processed/orders/{{file}}
Scheduled Time
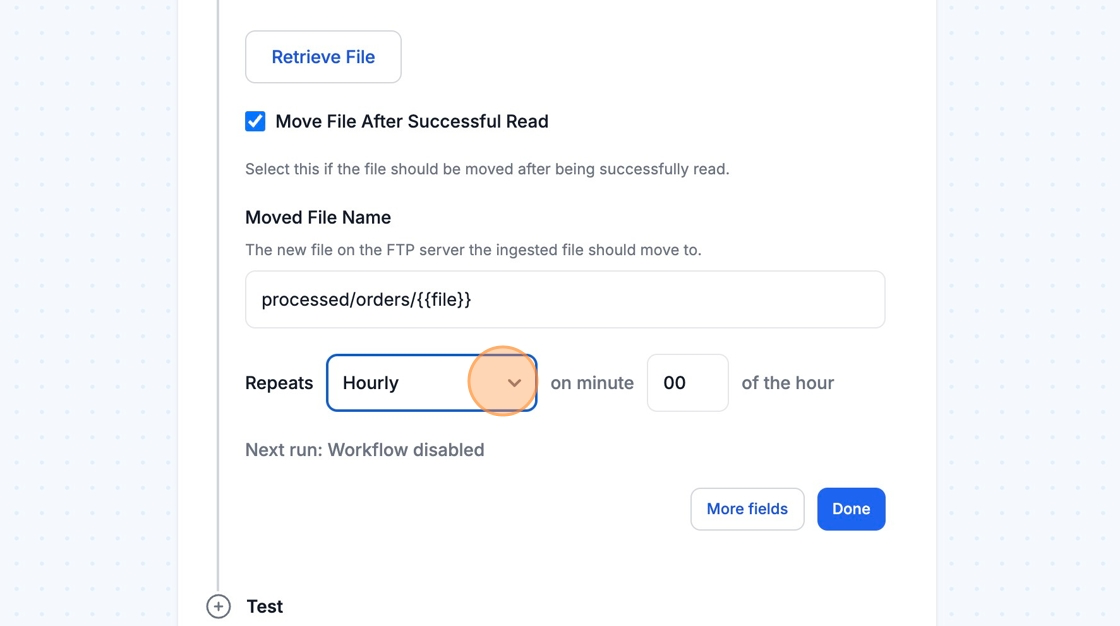
Section titled “Scheduled Time”Towards the bottom of the configuration, you can configure how often you’d like your workflow to run. Make sure to click the Save button to save your changes.
Going Further
Section titled “Going Further”
Save FTP File action
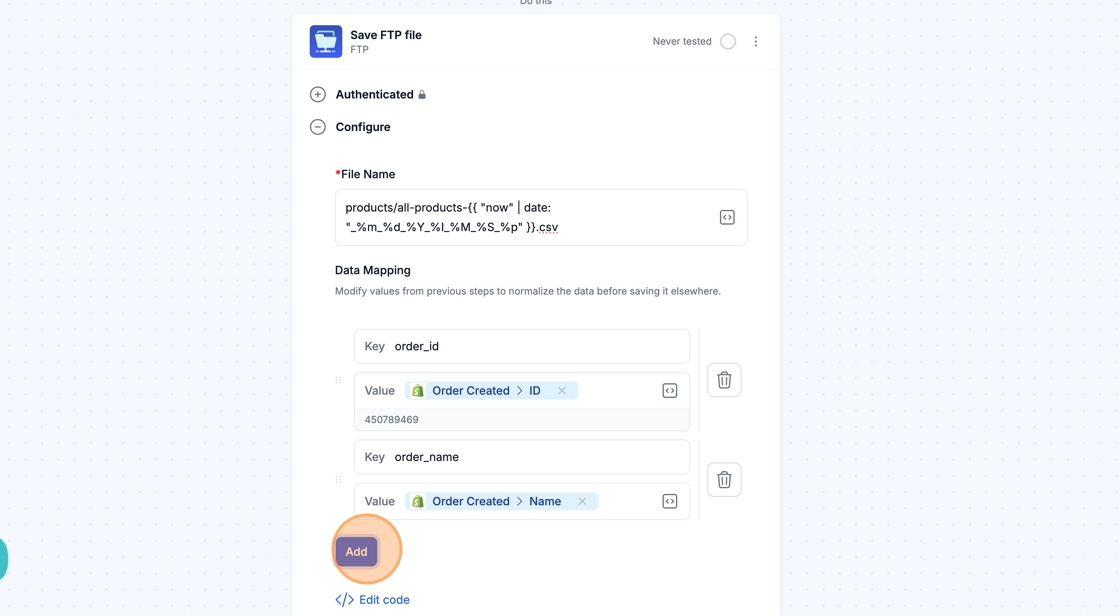
Section titled “Save FTP File action”In the File Name field, you can input your preferred name of the file that will be sent to your FTP server.
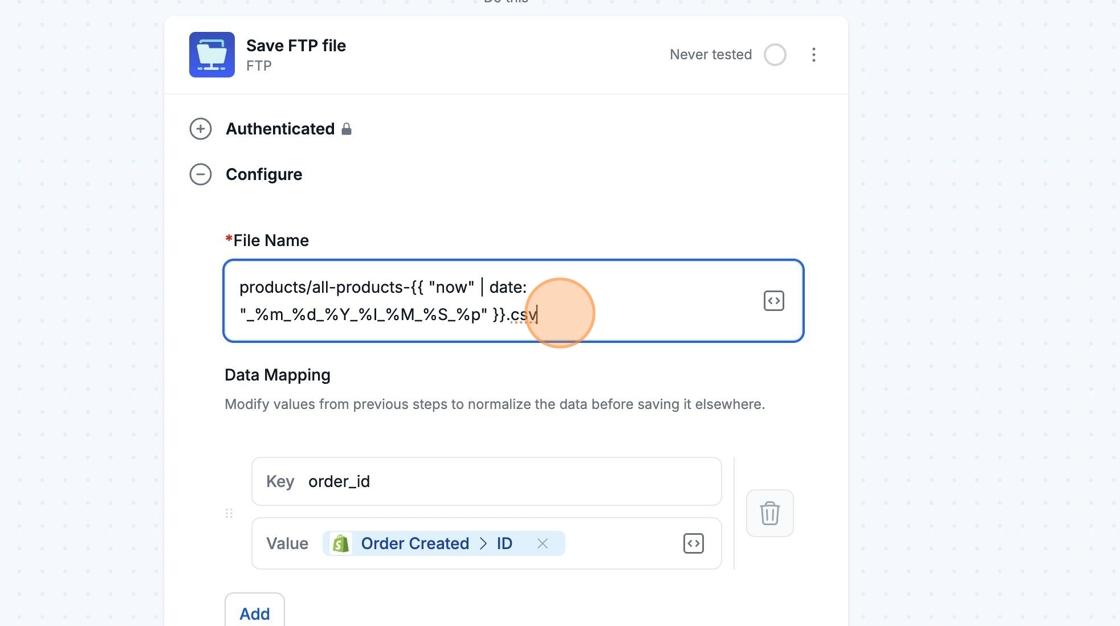
Example: products/all-products-{{ “now” | date: “_%m_%d_%Y_%I_%M_%S_%p” }}.csv will create a file in the products folder, with the name all-products-_07_12_2024_09_48_54_AM.csv
Learn more about formatting dates with Liquid.
In the Data Mapping section, you can map out the data sent to your FTP server by utilizing MESA’s Variables feature.
Advanced Data Mapping
For more advanced mapping, you can also use the Edit Code button on the FTP action, then add in your own data mapping.
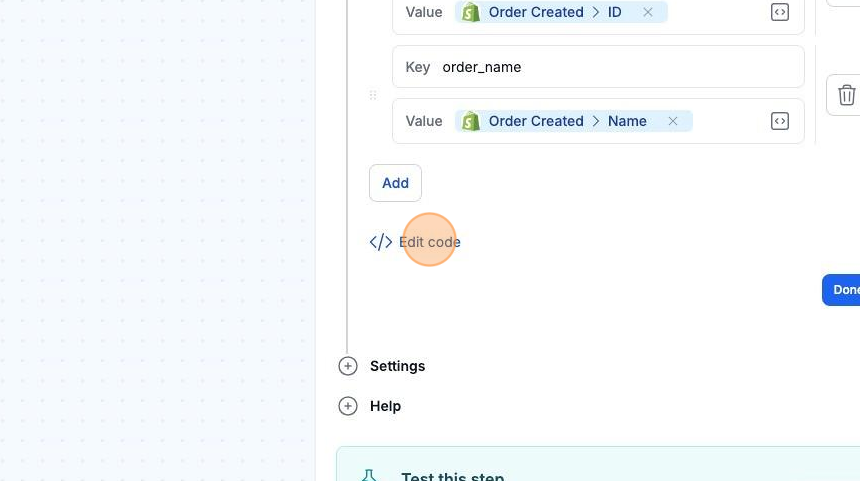
The following code will take a list of Shopify products, and create CSV file content from them. The Mesa.csv.encode() method is used to convert the data into CSV format. See the MESA Script SDK documentation for more details.
script = (payload, context) => {  // Adjust `payload` here to alter data before we transform it.
  // Alter the payload data based on our transform rules  let csvRows = [];
  payload.forEach((product) => {    csvRows.push({      id: product.id,      title: product.title,      handle: product.handle,      status: product.status,    });  });
  // Adjust `output` here to alter data after we transform it.  const csvOutput = Mesa.csv.encode(csvRows, true);
  // We're done, call the next step!  Mesa.output.next(csvOutput);};
Technical Notes
Section titled “Technical Notes”Fetch CSV File Row Created Trigger
Section titled “Fetch CSV File Row Created Trigger”- This trigger can support a CSV file with over 10,000 rows.
- Our queue will batch 50 rows at a time. After those 50 rows are processed, the next 50 will be enqueued. This continues until all rows have been processed.
- We do not recommend parallel processing for this trigger as it can disrupt the enqueuing logic.
- For CSV files with more than 1,000 rows, avoid using short schedule intervals as this may conflict with existing runs. For files over 1,000 rows, set the schedule to approximately 1 hour. For files with 10,000+ rows, keep schedule times several hours apart to prevent double booking
- Unlike other triggers that support enqueueing multiple files, this trigger only enqueues one file at a time.
Query Rows Action
Section titled “Query Rows Action”- You can query rows based on specific rulesets.
Add or Update Rows in CSV Action
Section titled “Add or Update Rows in CSV Action”- Row ID is used as a primary key for querying and updating. While it should be an ID, it can be any value. If a match is found with the Row ID, the existing row will be updated. If no match is found, a new row will be added. If there are multiple rows that match the same ID all matching rows will be updated.