
Stripe
Click Connect with Stripe to authorize your account in MESA, then use Stripe steps to react to payments and customer events.
Authenticate
Section titled “Authenticate”When you’re setting up your first workflow with Stripe, you will need to connect Stripe with MESA. Click on the Connect with Stripe button.
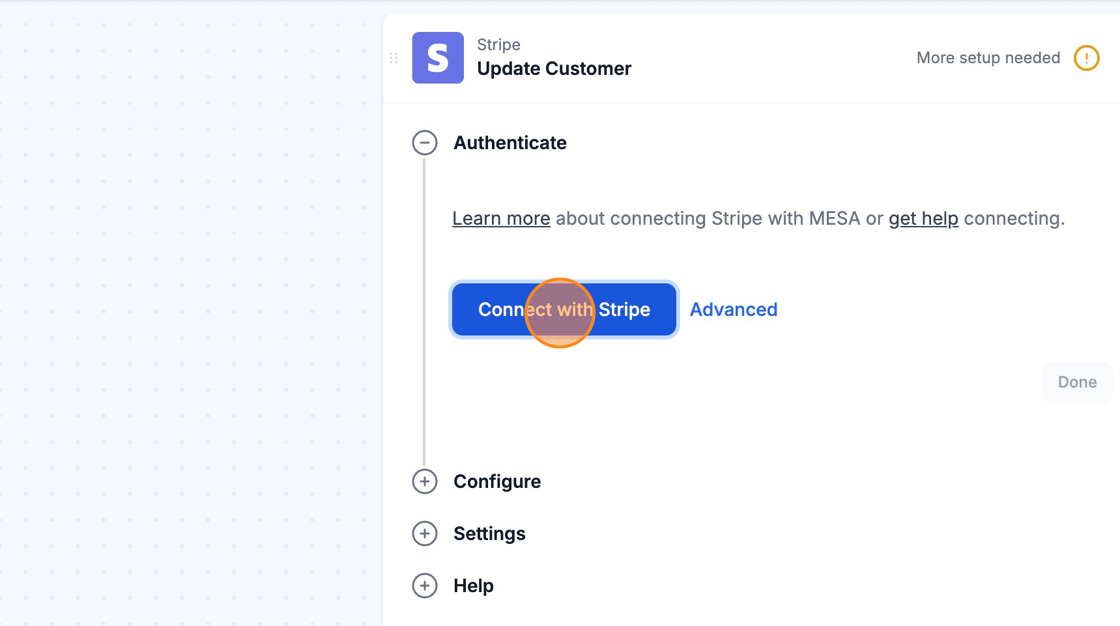
Afterwards, you will be brought back to your current workflow and you are all set! MESA is now connected with your Stripe account.
Configuration
Section titled “Configuration”
Configure Stripe Triggers
Section titled “Configure Stripe Triggers”When using any of Stripe’s triggers (e.g. Customer Updated, Customer Subscription Updated), you will need to select the necessary variables
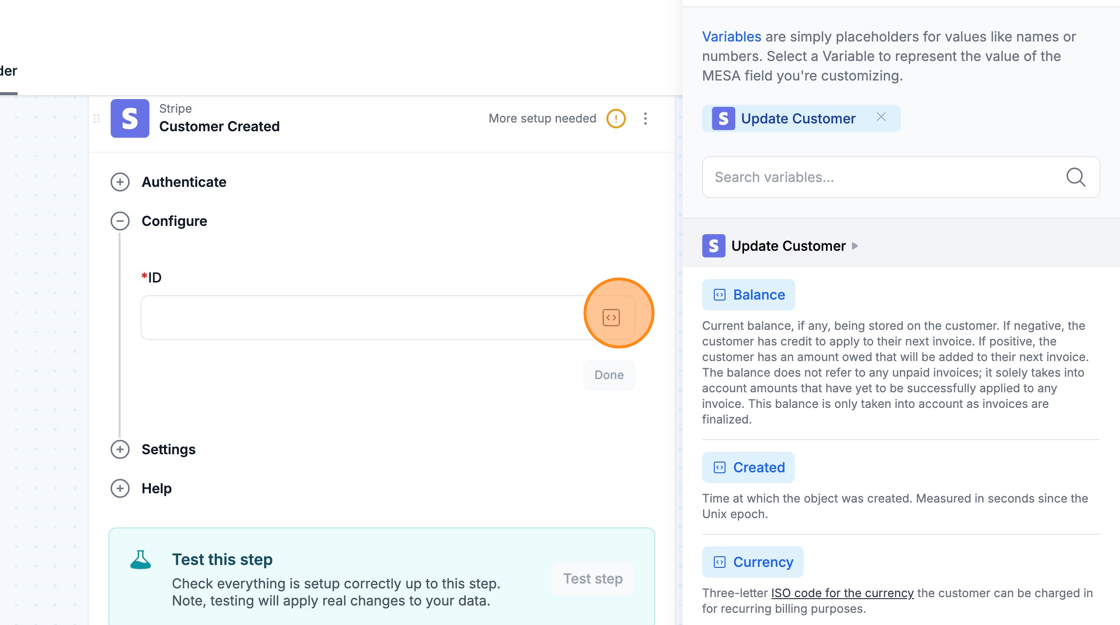
Follow these instructions to set up your webhook in the Stripe Dashboard.
1. In a new tab on your browser, visit the Stripe Dashboard: https://dashboard.stripe.com/
2. Sign into your account.
3. On the right hand side of the top navigation, click on Developers.
4. Click on Webhooks under the Developers heading.
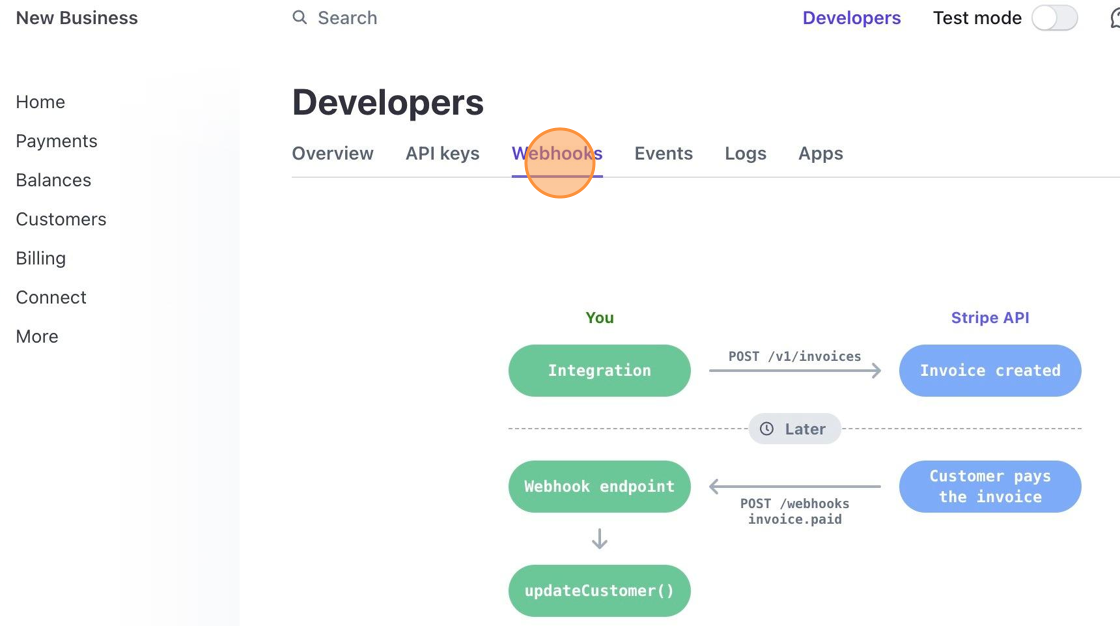
5. Click on the Add an endpoint button.
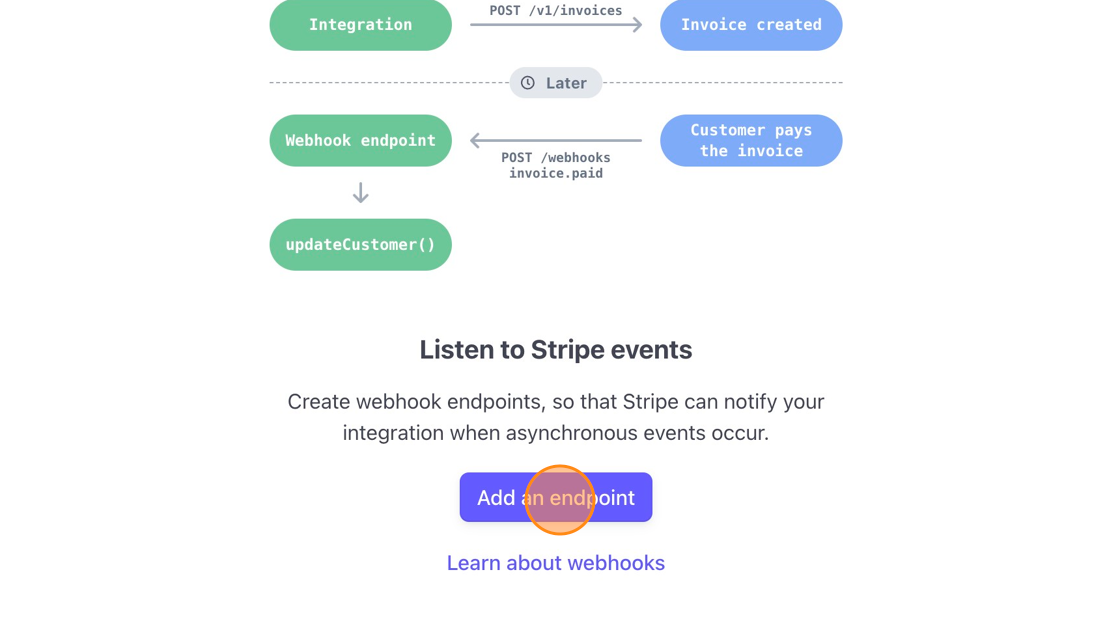
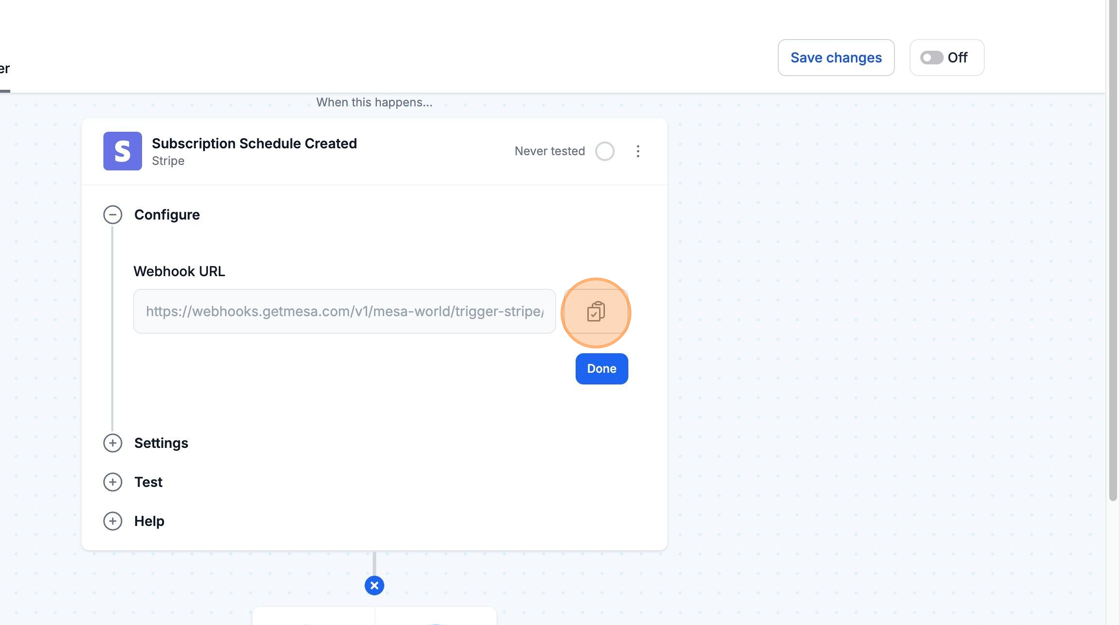
6. Go back to the tab with your MESA workflow open. Locate your workflow’s Stripe trigger and click on the Stripe trigger.
7. Click on configure.
8. Then, click on the Copy icon next to the Webhook URL field.
9. Go back to the tab with the Stripe dashboard open. In the Endpoint URL field, paste the copied value.
10. You can leave the Description field blank and leave the option Events on your account selected, under Listen to.
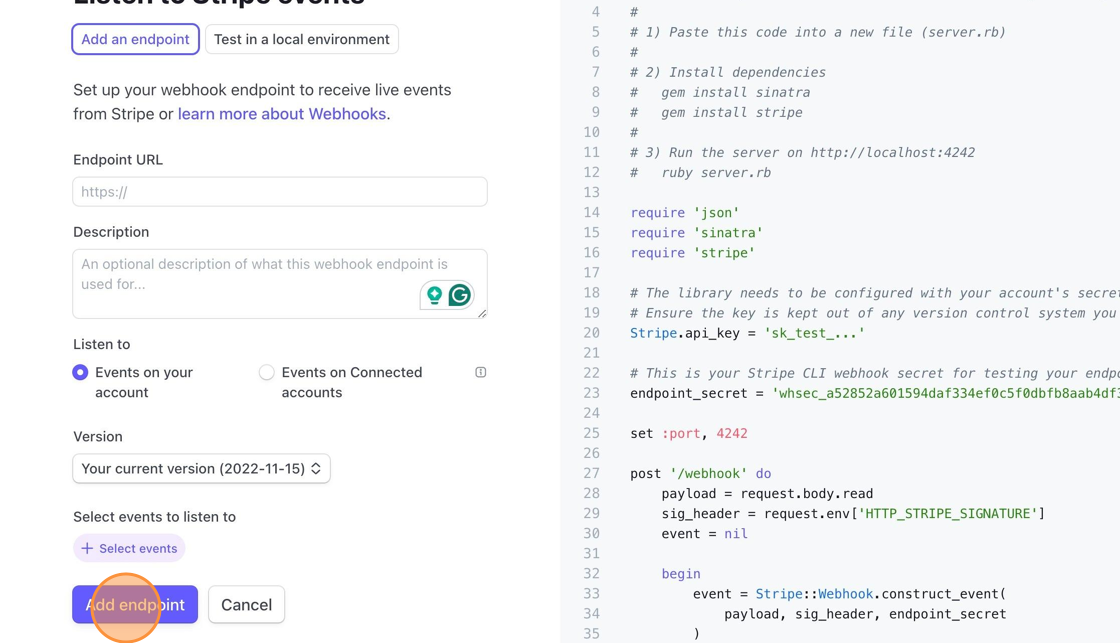
11. Next, click on the Select Events button under Select events to listen to.
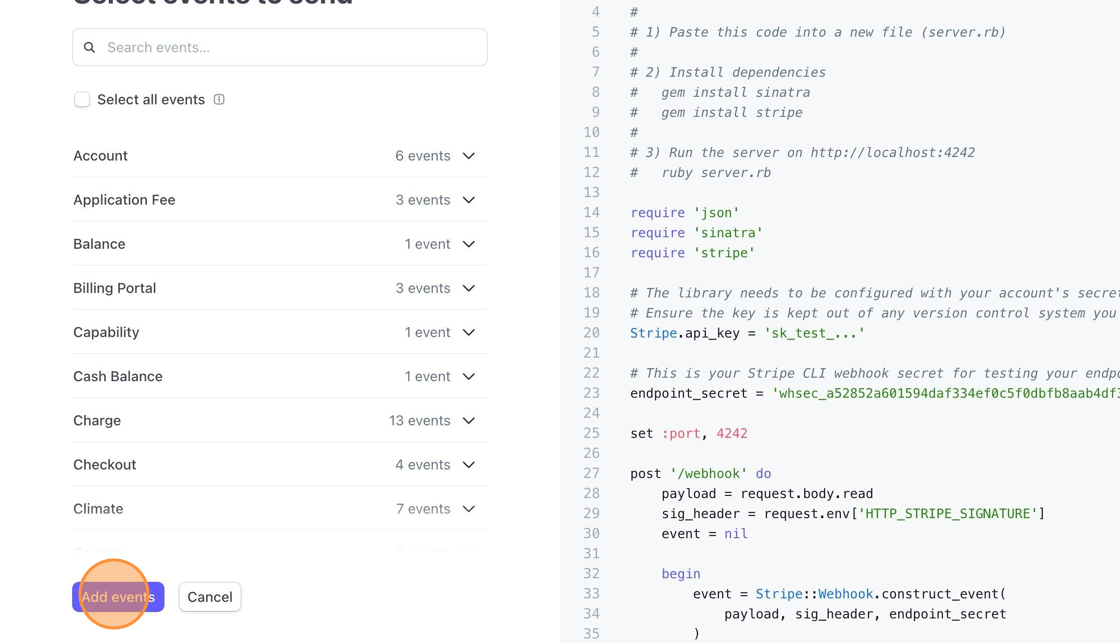
12. Select the event that is related to your trigger. For example, if your MESA workflow’s trigger is Customer Updated, then you would select Customer > customer.updated
13. Once you have selected your single event for the webhook, click on Add events.
14. Finally, click on the Add endpoint button. You are all set for that specific MESA workflow with the Stripe trigger. You will want to do this for every workflow that contains a Stripe trigger.
Technical Notes
Section titled “Technical Notes”While our Stripe integration has extensive possibilities to achieve your workflow goals, there are a few important things to be aware of.
- Our integration does not allow you to use Stripe as a third-party payment provider in Shopify.