Mailchimp
Find your Mailchimp API key in your account settings and add it to MESA so workflows can manage audiences and subscribers.
Connection
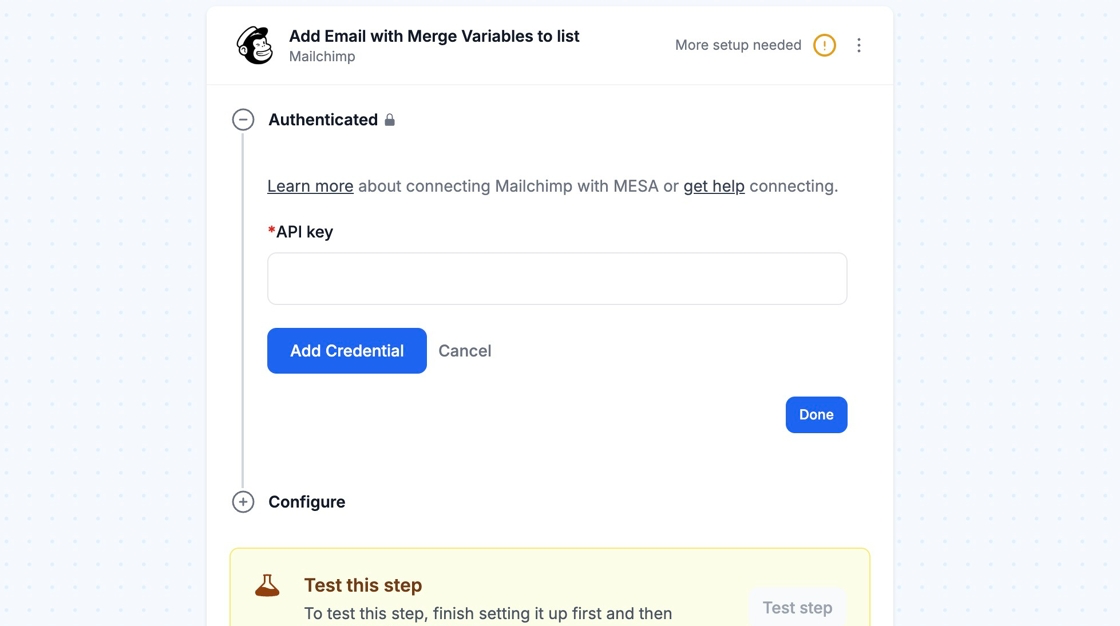
Section titled “Connection”When you’re setting up your first workflow with Mailchimp, you’ll need to add your API key so that Mailchimp is a connected app within MESA.
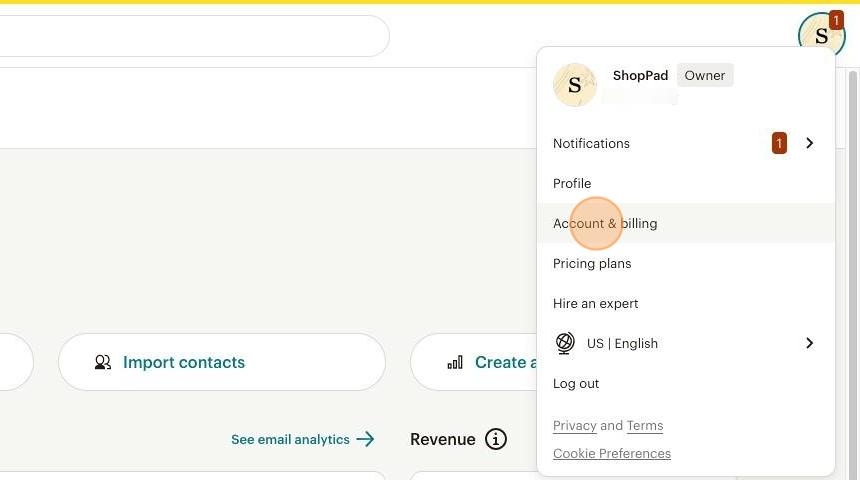
1. You can locate your API key by clicking your Account bubble, located at the top right of the Mailchimp Dashboard. Then, locate Account & billing and click on it.
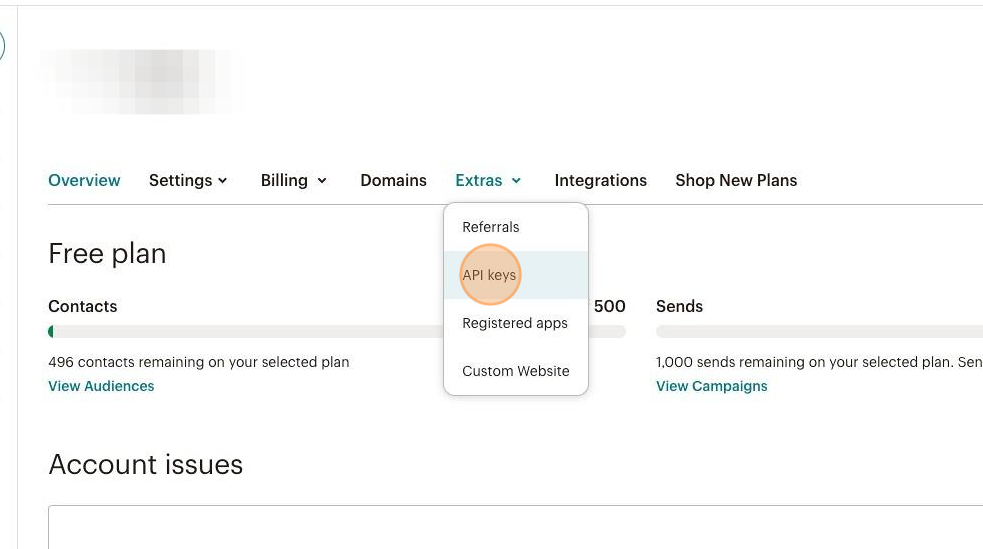
2. Next, click on the Extras dropdown and select API keys.
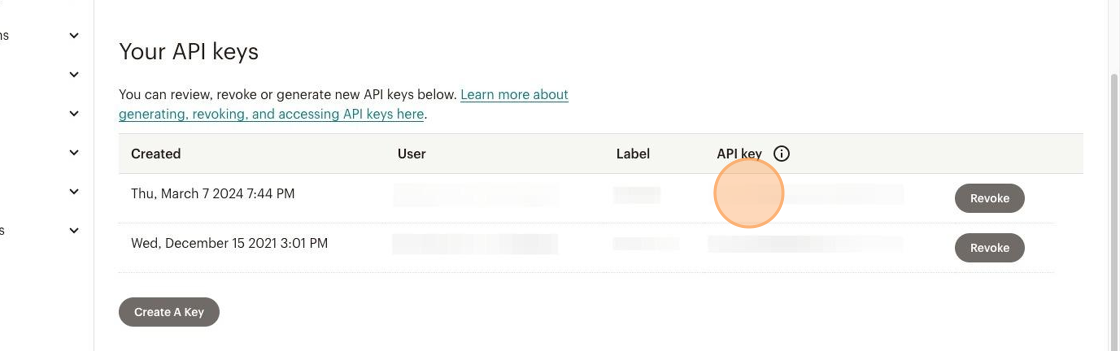
3. Scroll down until you see Your API Keys. if you have an existing API key, skip this step. If you do not have any active API keys, you can click on Create A Key.

4. Once you have an API key, copy the value under API key.
5. Then, paste that into your MESA’s workflow’s Mailchimp step and click on Add Connection.
Afterwards, you are all set and you can re-use the newly created connection for your future workflows!
Configure
Section titled “Configure”
Locate your Admin URL
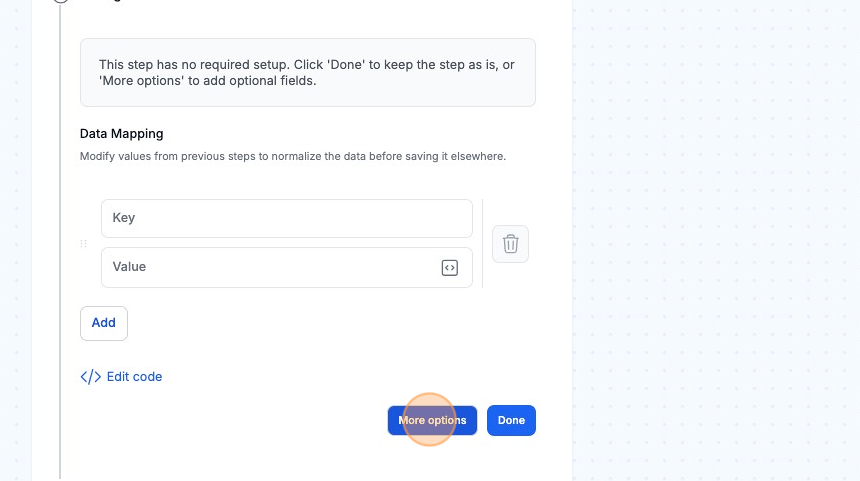
Section titled “Locate your Admin URL”For MESA’s Mailchimp action, you can enter your Admin URL by selecting the checkbox under More options.
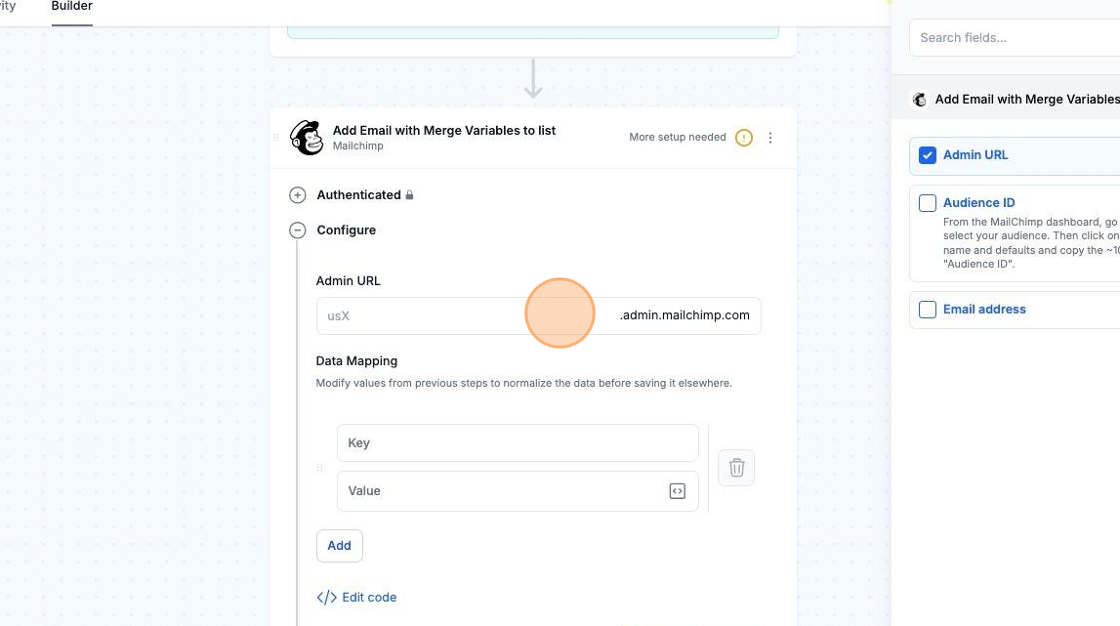
To locate the Admin URL, log into your Mailchimp account. Then, view your browser’s URL and copy the values before .admin. Paste that into the Admin URL field in your MESA workflow.

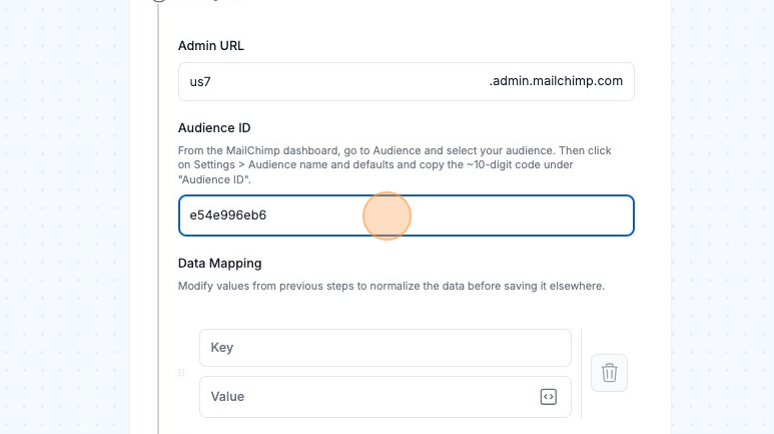
Here is an example of what the Admin URL could look like.

Locate your Audience ID
Section titled “Locate your Audience ID”For MESA’s Mailchimp action, you can enter your Audience ID by selecting the checkbox under More options.

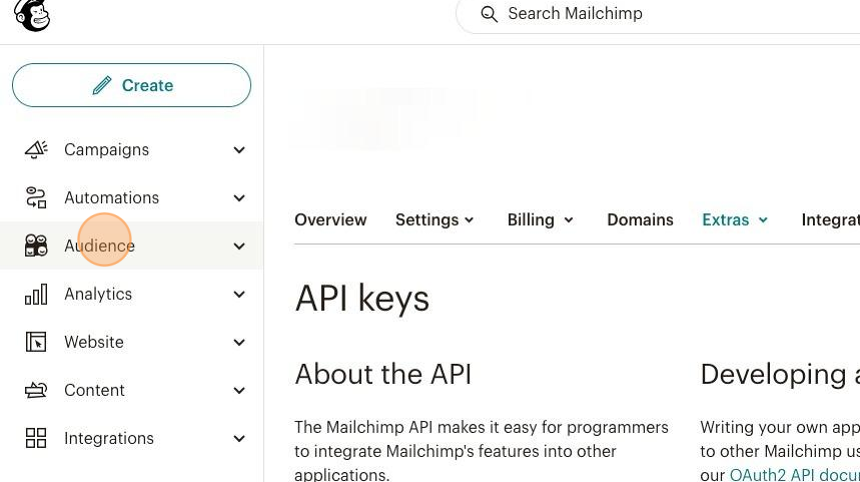
1. To locate the Audience ID, log into your Mailchimp account. Then, go to Audience and select your audience.
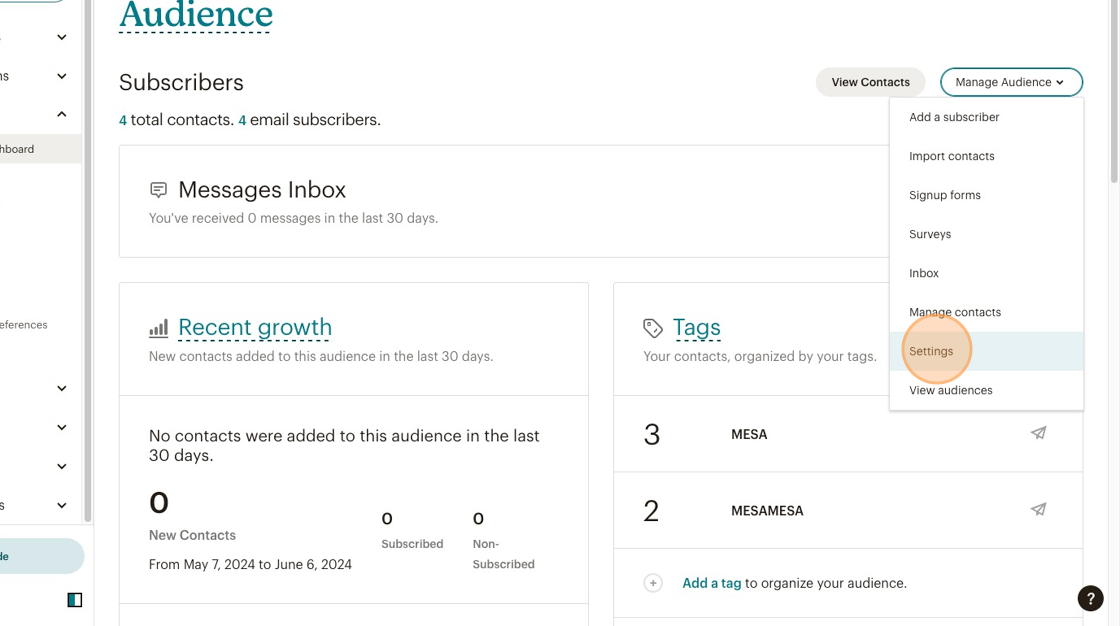
2. Once the audience is selected, click on Settings under the Manage Audience drop-down menu.
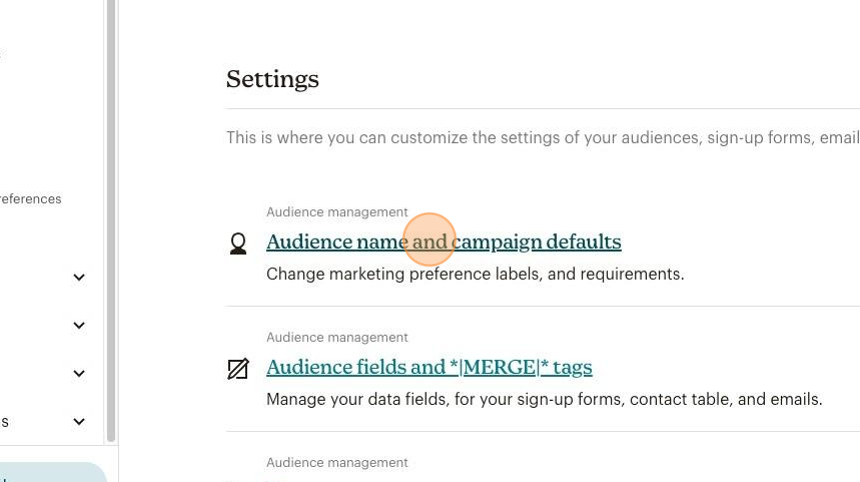
3. Under Audience name and campaign defaults, you will see your Audience ID on the right-hand side.
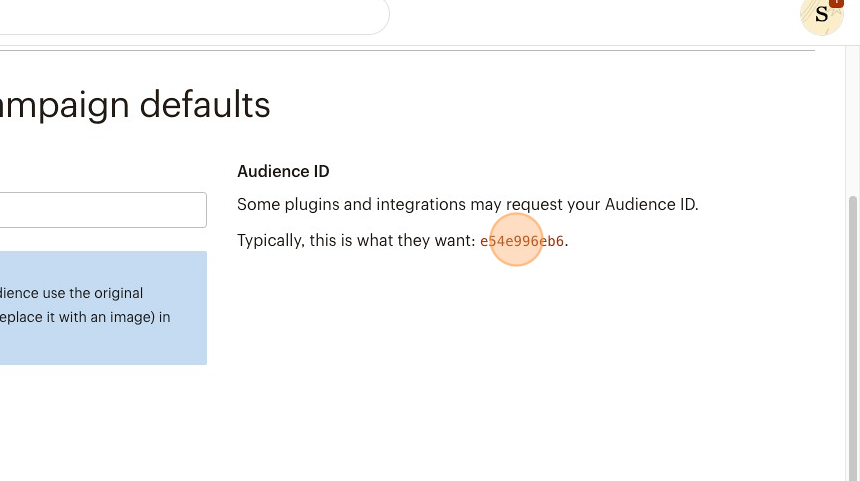
4. Copy the value and then paste that into the Audience ID field in your MESA workflow.
Here is an example of what the Audience ID could look like.