
Loyalty Lion
Connect LoyaltyLion to MESA by logging in and authorizing the app, then use loyalty triggers and actions in your workflows.
Connection
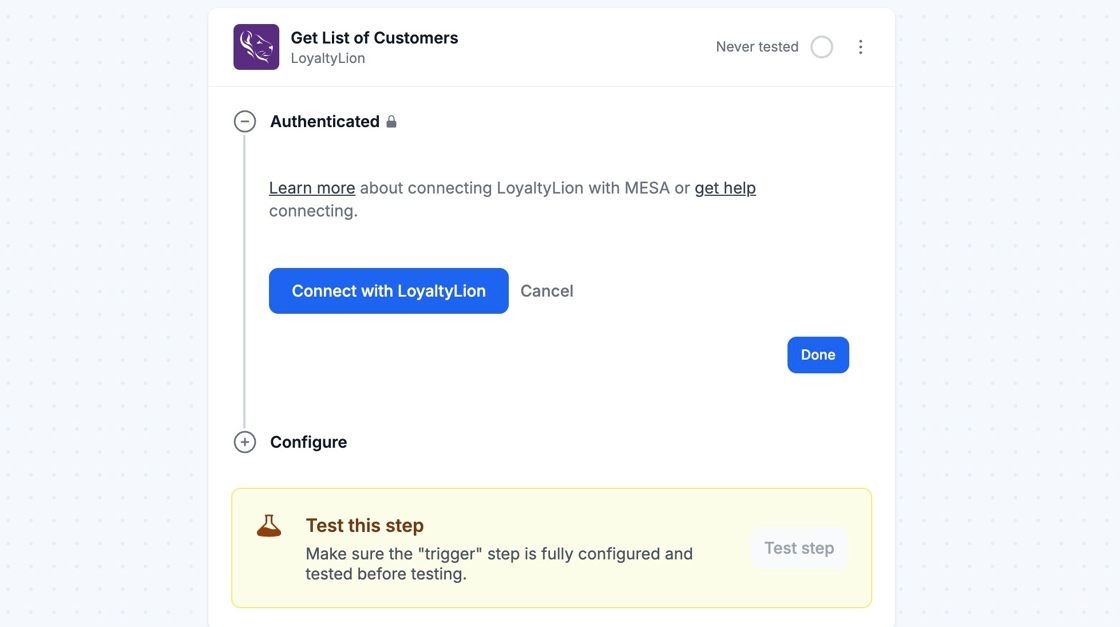
Section titled “Connection”When you’re setting up your first workflow with LoyaltyLion, you’ll need to create a connection through MESA’s LoyaltyLion app integration.
Click Connect with Loyalty Lion to begin this process.
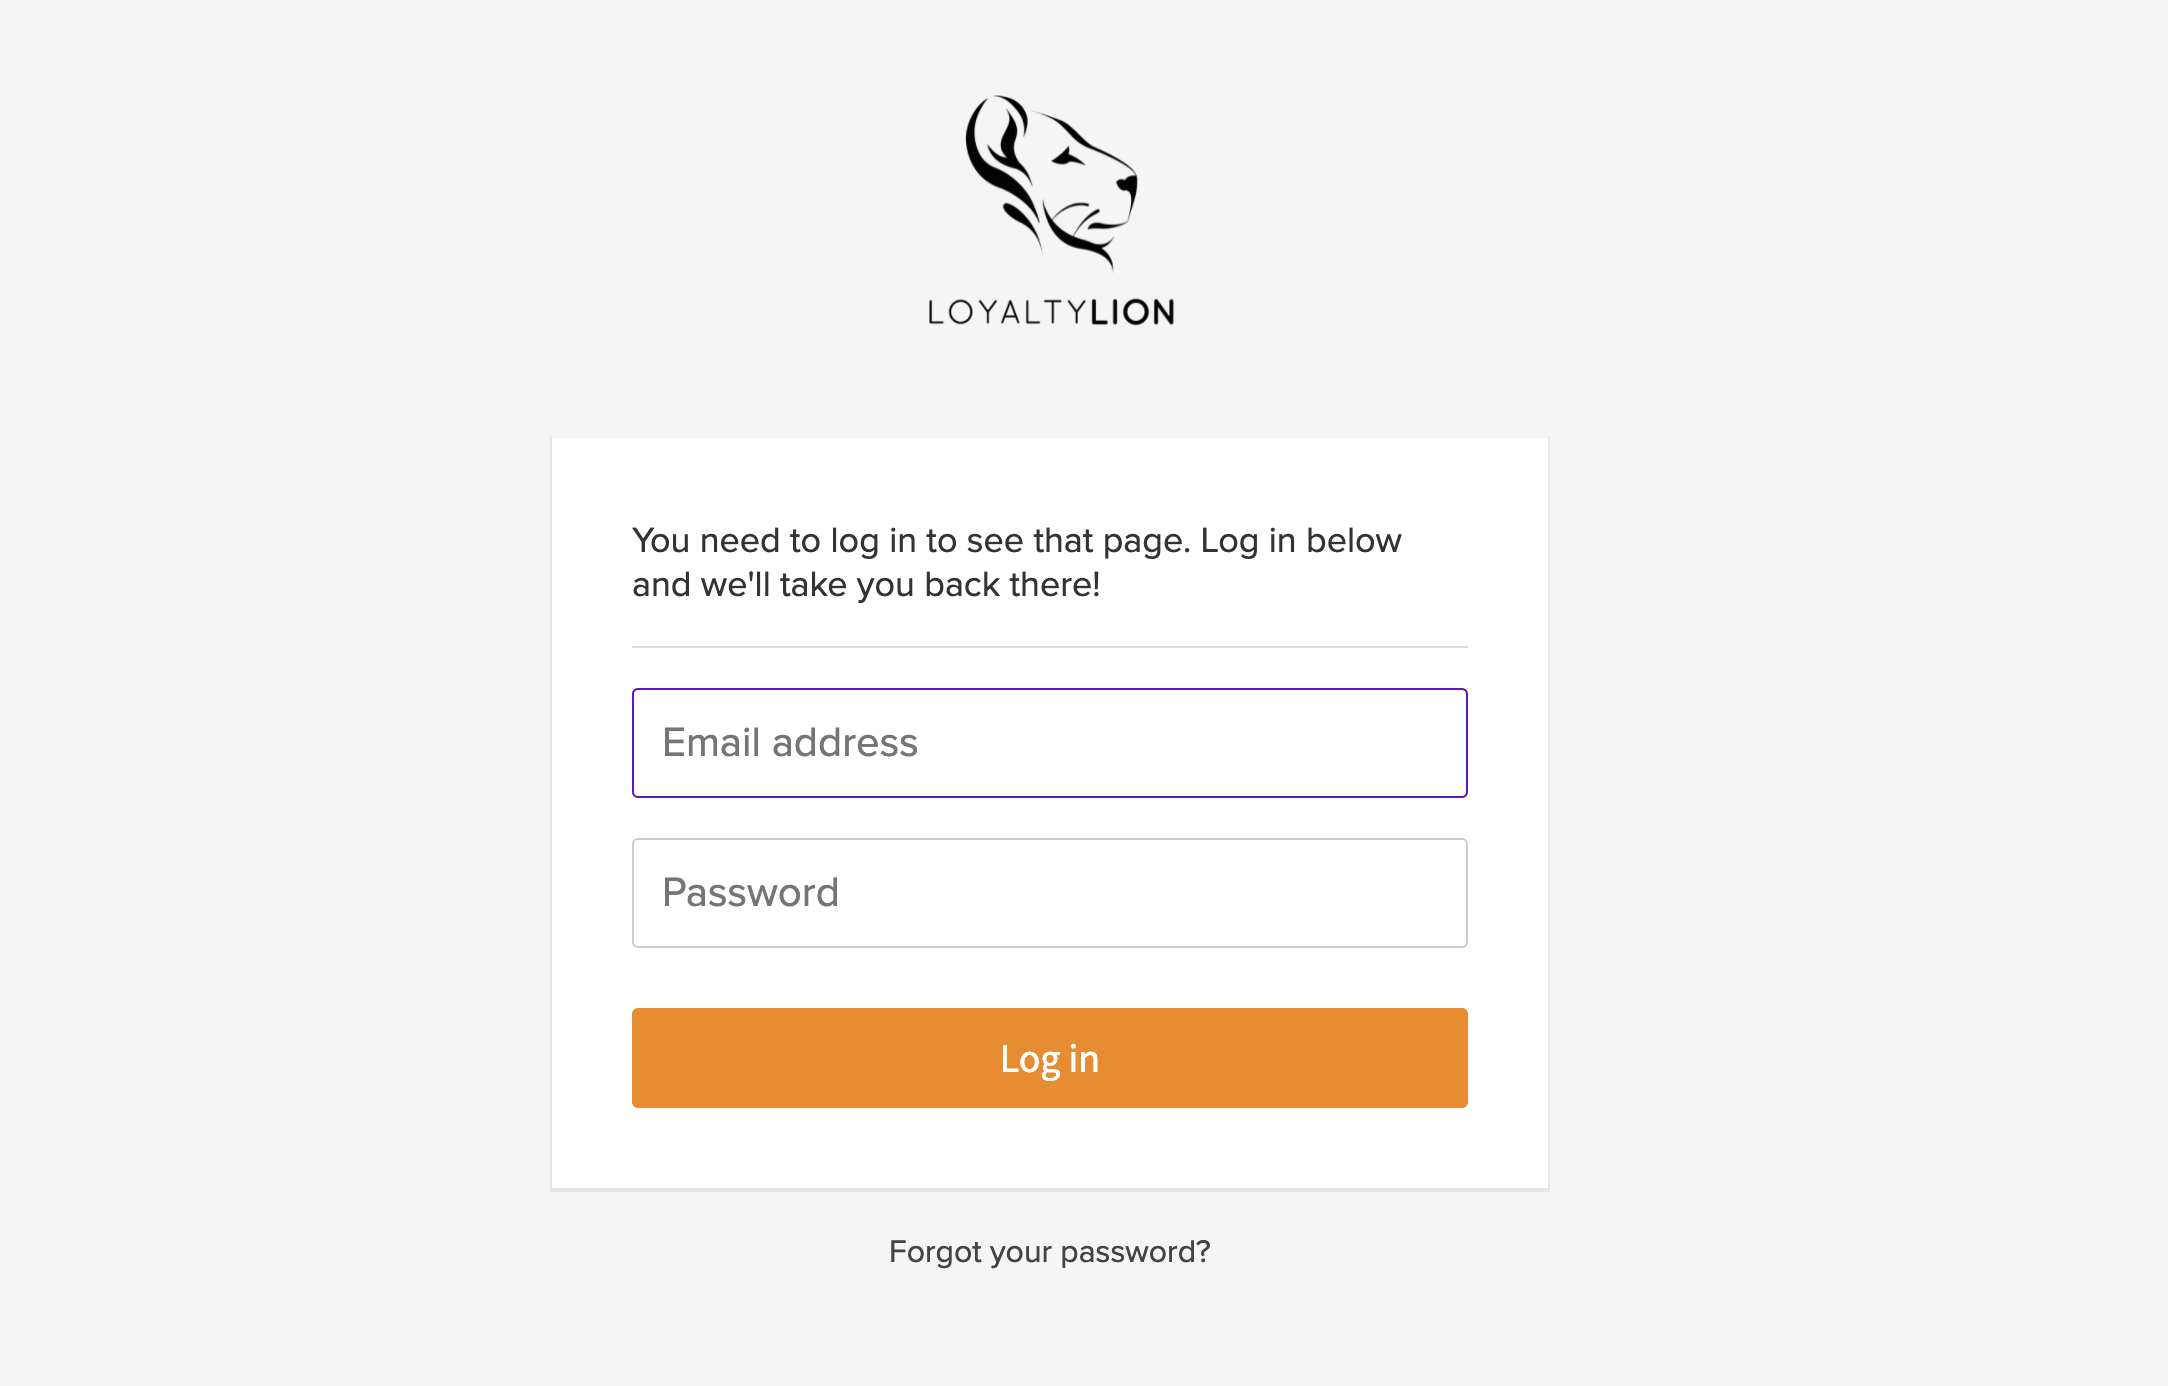
In order to authorize the MESA application, you will need to log into your LoyaltyLion account.
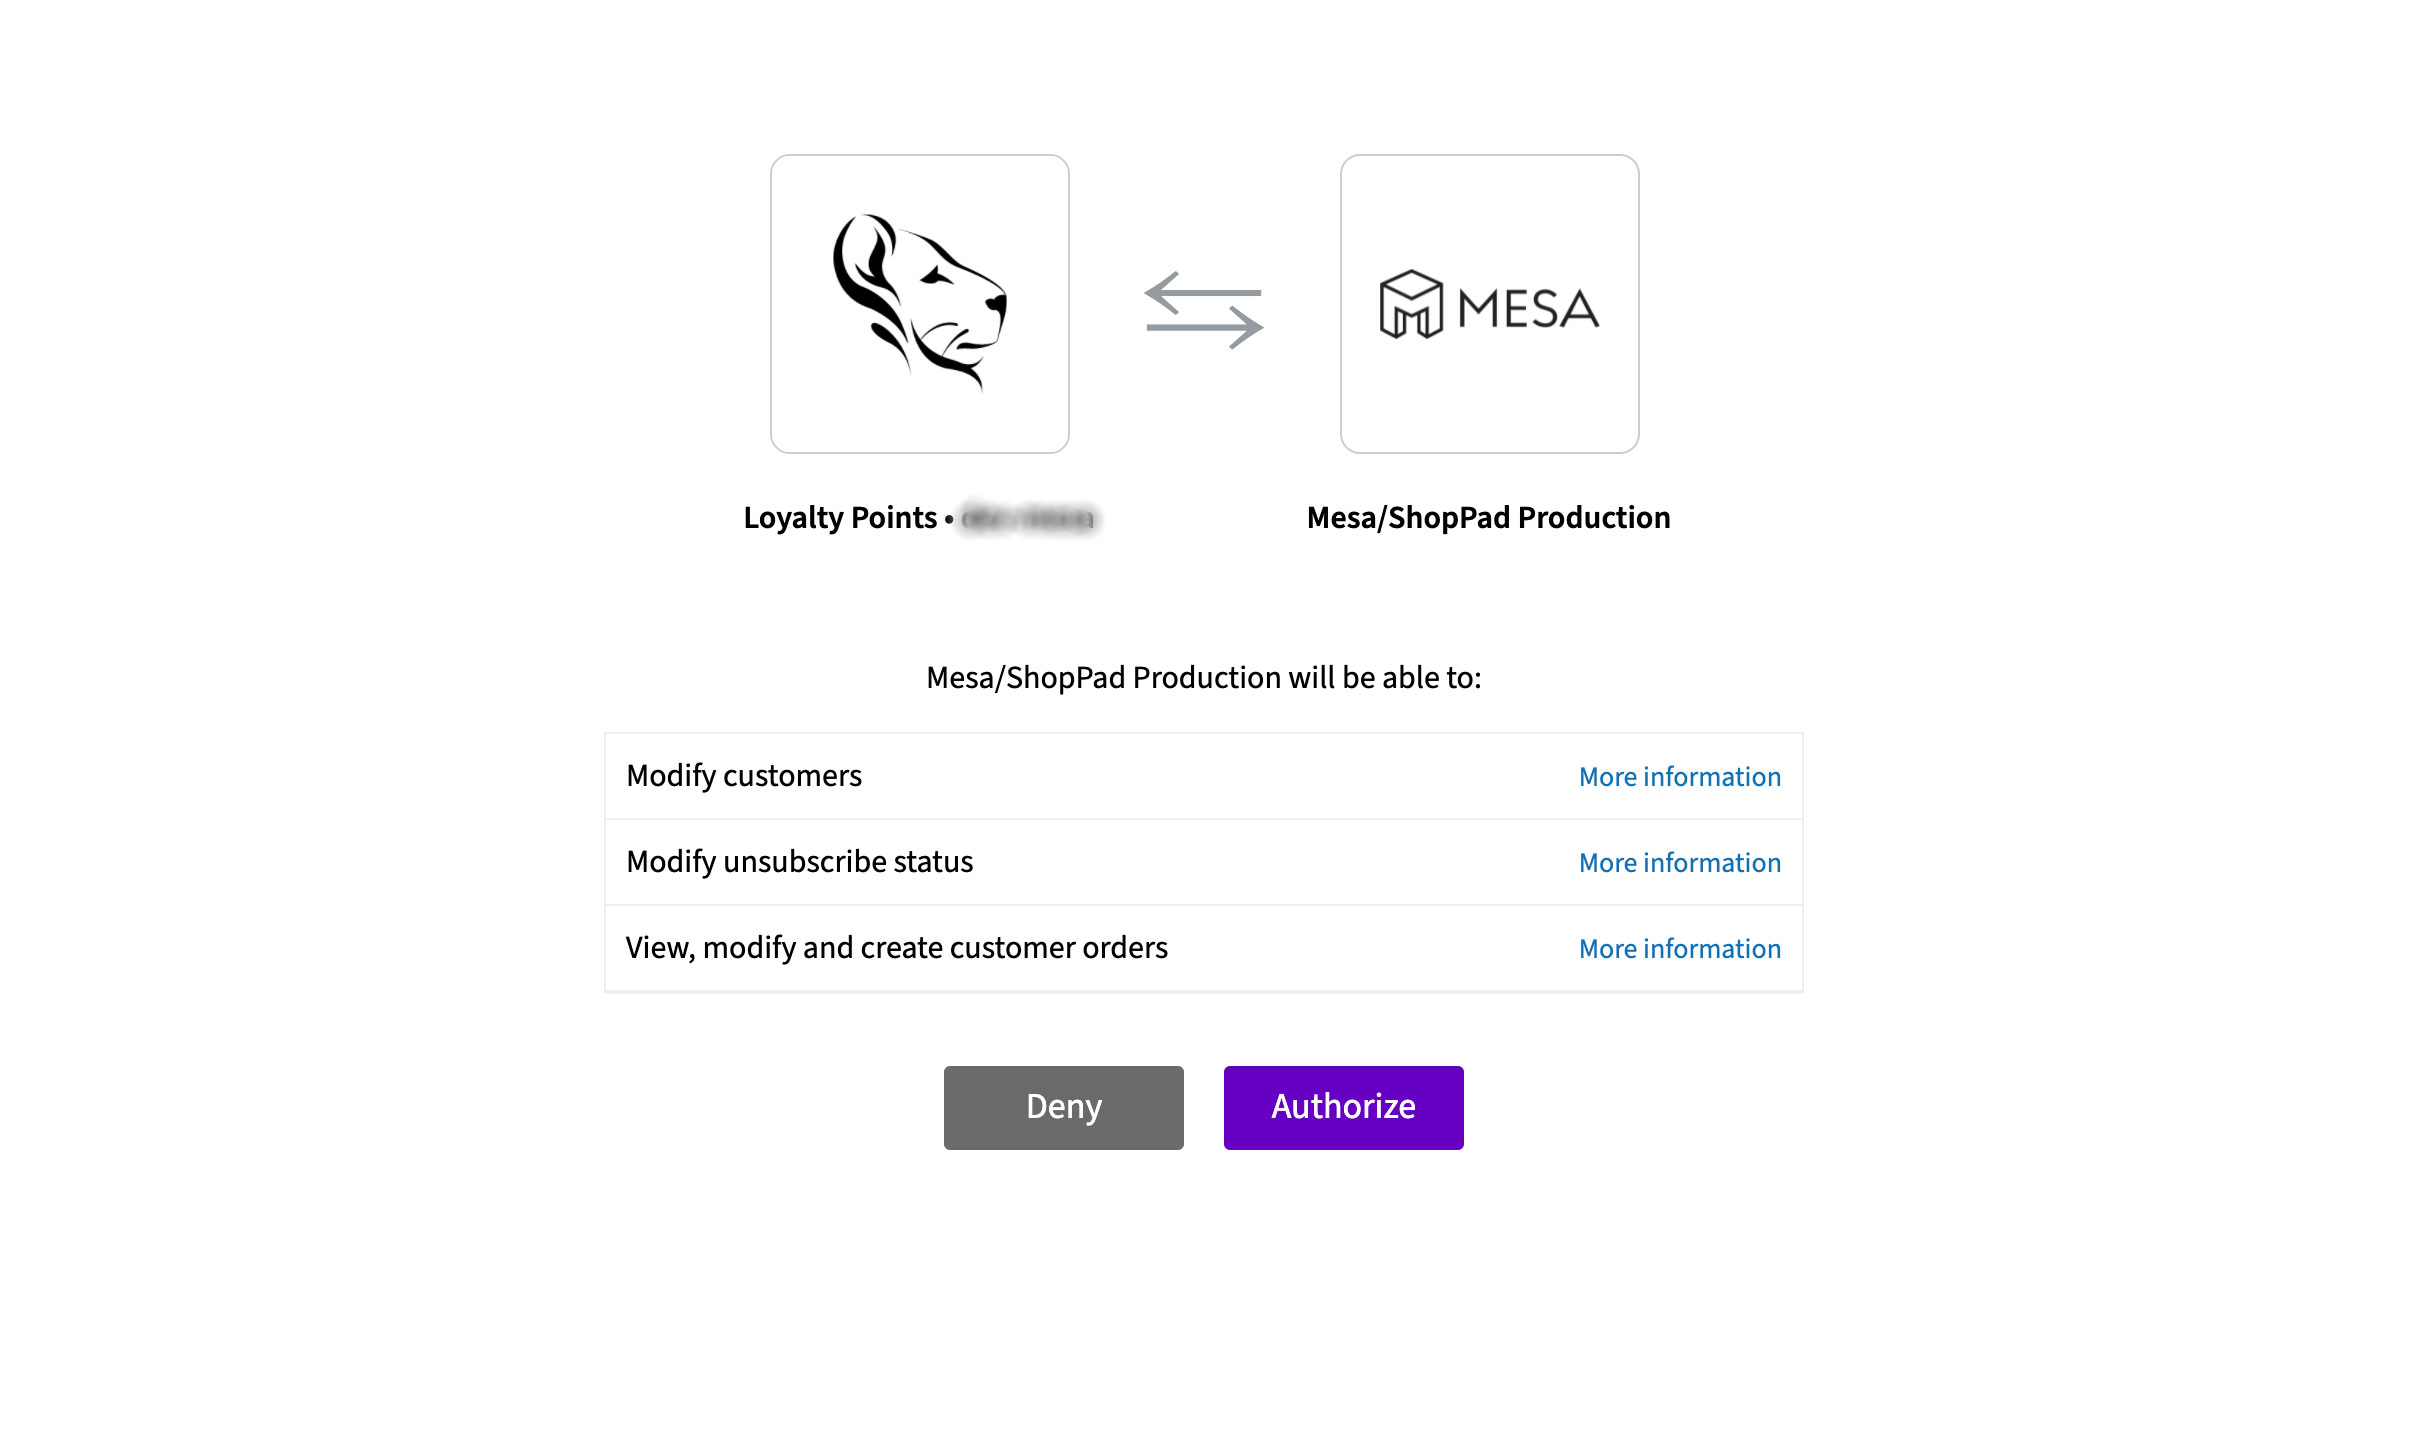
Next, accept the MESA app permissions by clicking Authorize.
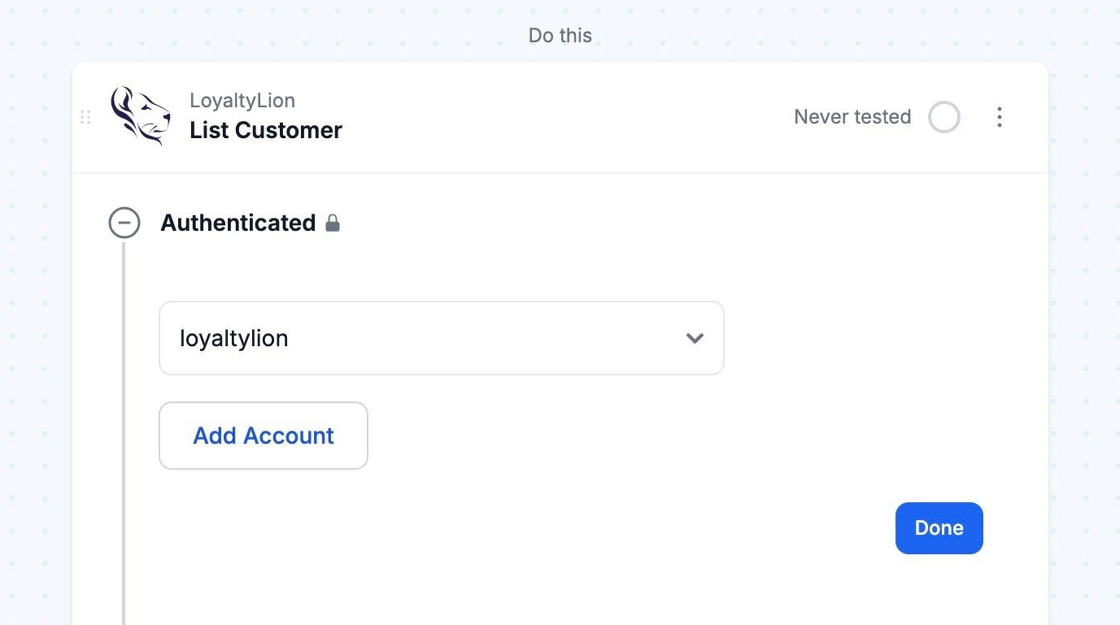
Now your LoyaltyLion connection has been created.
Configure
Section titled “Configure”
Add Points to a Customer
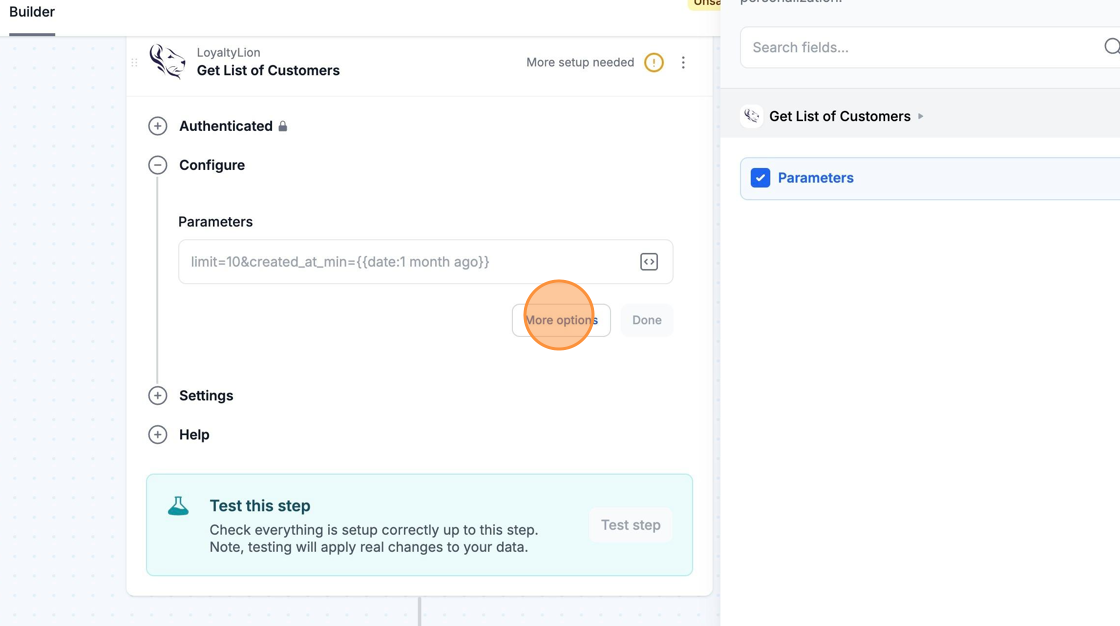
Section titled “Add Points to a Customer”In order to add points to a customer, you will often first need to locate a customer’s Merchant Id. This can normally be found via the LoyaltyLion Get List of Customers action, using the More Options parameter option to search your LoyaltyLion customers by email.
Use the format “email={{variable}}” where {{variable}} would be a customer email found using the variables menu icon.
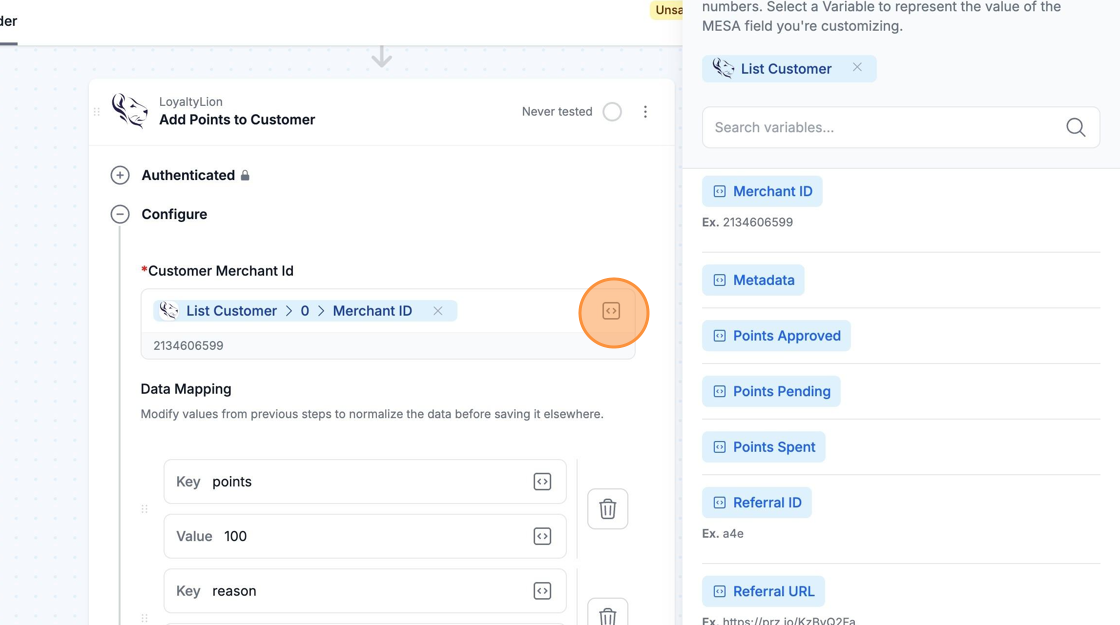
Then, on the LoyaltyLion Add Points Customer action, use the variables menu icon to select the customer’s Merchant Id from the LoyaltyLion List Customer step for the action’s configuration.
Send data to LoyaltyLion
Section titled “Send data to LoyaltyLion”In some of the LoyaltyLion Actions, there may be a Data Mapping section. If you are not familiar with what data to send, you can click on the Variables menu icon {+} within the Key field and the available variables will appear on the right hand side bar.
Triggers
Section titled “Triggers”There may be a delay of a couple minutes from when a change is made in LoyaltyLion to when it is received by MESA. This is the normal behavior of the LoyaltyLion API.